DIY缝纫和针织

Albert Evans 19-10-2023
Albert Evans

说明

无论羽绒被内部使用何种材料,其最终目的都是为了保暖、轻便和超级舒适--换句话说,是一夜安眠的理想伴侣。 但我们知道,优质羽绒被通常价格不菲,因此需要加以保护和护理。 为此,没有什么比为您的贵重物品量身定制被套更好的了。

但您并不一定需要购买昂贵的羽绒被套,因为自己制作羽绒被套既简单又便宜。 在本缝纫和针织DIY教程中,您将学习到如何简单、快速、便宜地制作羽绒被套。

但在开始裁剪和缝纫之前,重要的是要清洗被套的面料。 在第一次清洗时,面料会收缩一些,因此要购买比您计算的被套面料大10%左右的面料。 清洗时,在冷水中使用织物柔顺剂,因为这有助于去除绒毛。 开始吧?

See_also: 如何养护矮牵牛7个步骤

第1步 - 测量羽绒被尺寸

在开始制作新的法兰绒被套(或任何您选择的材料)之前,了解羽绒被的尺寸非常重要。 了解床垫的尺寸也很重要。

- 从床垫上取下所有床单。

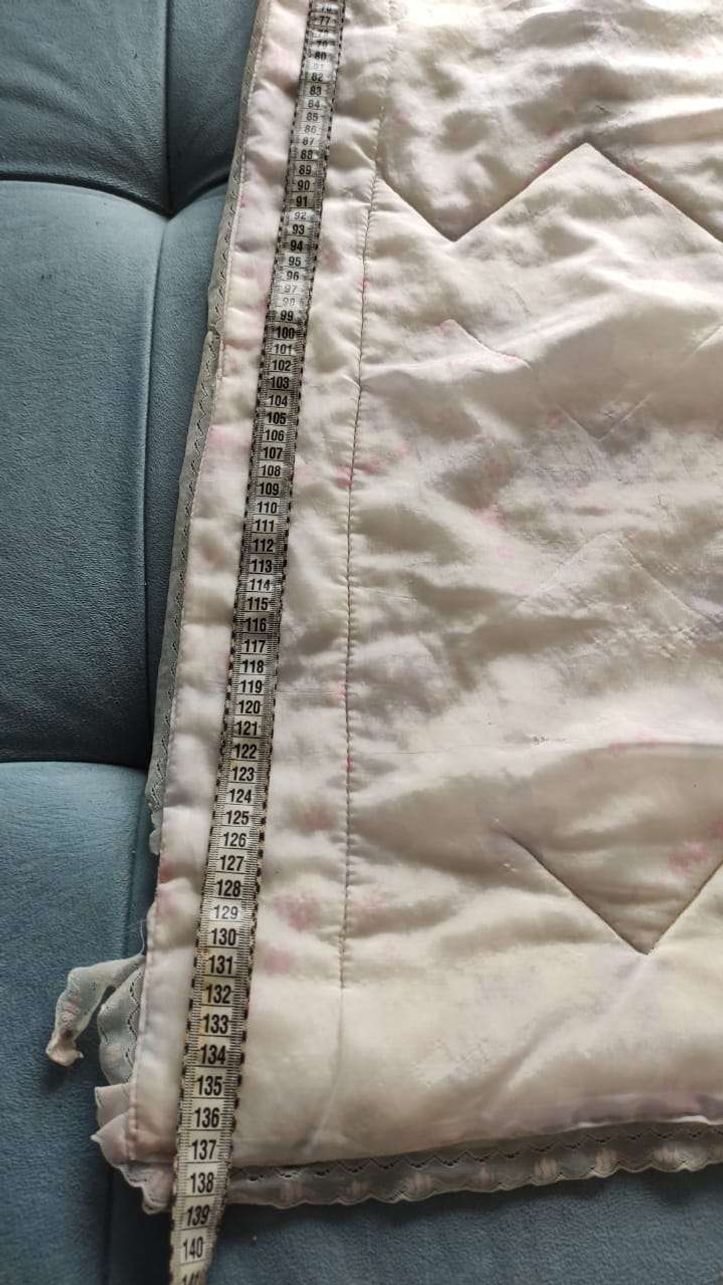
- 使用可伸缩卷尺(可以固定在适当的位置,比较方便),从宽度开始,将卷尺的一端放在床垫的左侧,然后延伸到右侧边缘。

- 接下来,将卷尺的尖端放在床垫顶部的中间,然后拉伸到床垫底部,测量长度。

第2步 - 测量并标记羽绒被套的面料

虽然织物的选择完全取决于您(以及您房间的设计和风格),但请记住,一定要选择手感柔软的织物。 最好使用防污材料,以增加家具的耐用性,并使其更易于清洁和清洗。

提示:请注意巴西床垫和羽绒被的尺寸:

床类型 床垫尺寸 羽绒被尺寸

单个 0,88 x 1,88 m 1,60 x 2,20 m

See_also: 一步步来:用苏打罐制作装饰花盆

双人间 1,38 x 1,88 m 2,20 x 2,40 m

大床 1,58 x 1,98 m 2,40 x 2,60 m

特大号床 1.93 x 2.03 m 2.80 x 2.90 m

步骤 3 - 剪裁所选面料

- 将所选面料平铺在羽绒被套上。

- 对于第一块布料,请裁剪成与羽绒被完全相同的尺寸。

- 另一块布料需要裁剪成比羽绒被大30厘米。

小贴士:如果您决定使用有花纹的面料制作羽绒被套(也称羽绒被套),那么将两种面料的花纹对齐是非常重要的。 这必须在您将另一块面料裁剪到合适的长度之前进行,否则其中一块或两块面料的花纹将无法正确对齐。

步骤 4 - 剪断松紧带

新的法兰绒被套需要与所覆盖的羽绒被相适应,而松紧带可以实现这一点。

现在,剪下四条松紧带(羽绒被的四个角各一条),并确保它们的长度相同。

第5步 - 搭配被套面料

如果您想学习如何缝制羽绒被被套,您必须知道现在必须将您所选择的两块布料拼接在一起以制作被套。

- 取一块最大的布料(无论您选择哪种材料),将其平铺在平面上,确保右侧朝上。

- 在大面料的顶部,放置小面料(在我的情况下是针织面料),确保其右侧朝下。

- 现在,如图所示,将多余的大布条折叠在小布条上。

- 水平使用熨斗。

第6步 - 装上松紧带

将两块布料合在一起,用别针将其固定。 您需要使用的别针数量取决于您所制作的羽绒被套的尺寸。

用别针将松紧带和被套面料连接起来。

步骤 7 - 将布料缝在一起

在缝纫机上将面料紧贴在一起。 在距离面料边缘约1厘米的地方量好尺寸,然后开始仔细缝制三边。 不要忘记松紧带。 缝制完成后,将羽绒被翻转过来,熨烫边缘。

第8步 - 缝上纽扣作为紧固件

纽扣将羽绒被固定在被套内,因此在被套的四个角上各缝一颗纽扣。

第9步 - 将羽绒被塞入新被套内

然后将羽绒被塞入被套内,再将松紧带系在纽扣上,盖上羽绒被套。

第10步 - 现在可以使用新被套的羽绒被了!

您刚刚学会如何制作羽绒被套!

提示:如果您希望您的羽绒被套更加结实,请在距边缘约5毫米处用流水线缝合羽绒被套的边缘。

如果您喜欢这个DIY缝纫项目,请访问homify网站查看更多内容!

Albert Evans

Jeremy Cruz is a renowned interior designer and passionate blogger. With a creative flair and an eye for detail, Jeremy has transformed numerous spaces into stunning living environments. Born and raised in a family of architects, design runs in his blood. From a young age, he was immersed in the world of aesthetics, constantly surrounded by blueprints and sketches.After obtaining a bachelor's degree in Interior Design from a prestigious university, Jeremy embarked on a journey to bring his vision to life. With years of experience in the industry, he has worked with high-profile clients, designing exquisite living spaces that embody both functionality and elegance. His ability to understand clients' preferences and transform their dreams into reality sets him apart in the interior design world.Jeremy's passion for interior design extends beyond creating beautiful spaces. As an avid writer, he shares his expertise and knowledge through his blog, Decoration, Interior Design, Ideas for Kitchens and Bathrooms. Through this platform, he aims to inspire and guide readers in their own design endeavors. From tips and tricks to the latest trends, Jeremy provides valuable insights that help readers make informed decisions about their living spaces.With a focus on kitchens and bathrooms, Jeremy believes that these areas hold tremendous potential for both functionality and aestheticappeal. He firmly believes that a well-designed kitchen can be the heart of a home, fostering family connections and culinary creativity. Similarly, a beautifully designed bathroom can create a soothing oasis, allowing individuals to relax and rejuvenate.Jeremy's blog is a go-to resource for design enthusiasts, homeowners, and anyone looking to revamp their living spaces. His articles engage readers with captivating visuals, expert advice, and detailed guides. Through his blog, Jeremy strives to empower individuals to create personalized spaces that reflect their unique personalities, lifestyles, and tastes.When Jeremy is not designing or writing, he can be found exploring new design trends, visiting art galleries, or sipping coffee in cozy cafes. His thirst for inspiration and continuous learning is evident in the well-crafted spaces he creates and the insightful content he shares. Jeremy Cruz is a name synonymous with creativity, expertise, and innovation in the field of interior design.