如何逐步制作塑料面具

Albert Evans 15-08-2023
Albert Evans

说明

由于大流行病仍然存在,不戴口罩或面罩到处走动的日子已经一去不复返了。 要去办公室? 还是去超市购物? 我们中的许多人对戴口罩感到满意,我们中的许多人肯定希望得到双重保护。

考虑到我们可能需要经常佩戴面罩,您可能至少需要更换几个这样的面罩,特别是如果您需要每天佩戴的话。 这些面罩的购买价格可能会比较昂贵,如果您知道如何在家里制作透明面罩,那就最好不过了!

在家一步步学习如何制作塑料面膜如何? 这比您想象的要容易得多!下面我将为您提供一份完整的教程,并附有照片,告诉您如何准确地制作面膜。

另请参阅:装饰香皂:12个步骤DIY美丽的水磨石香皂!

第一步:准备纸张

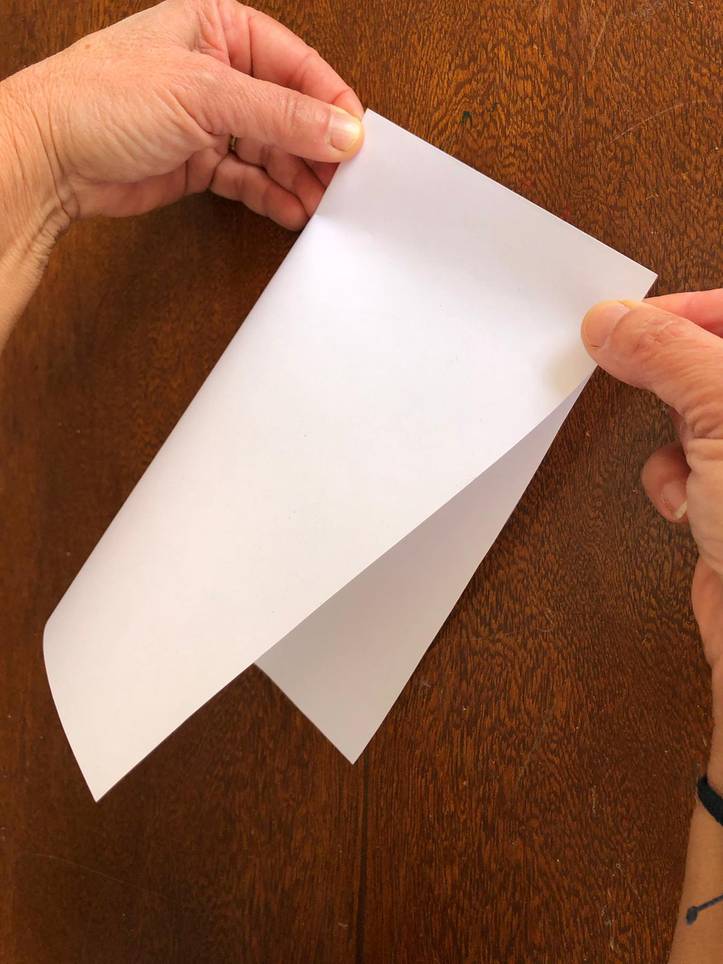
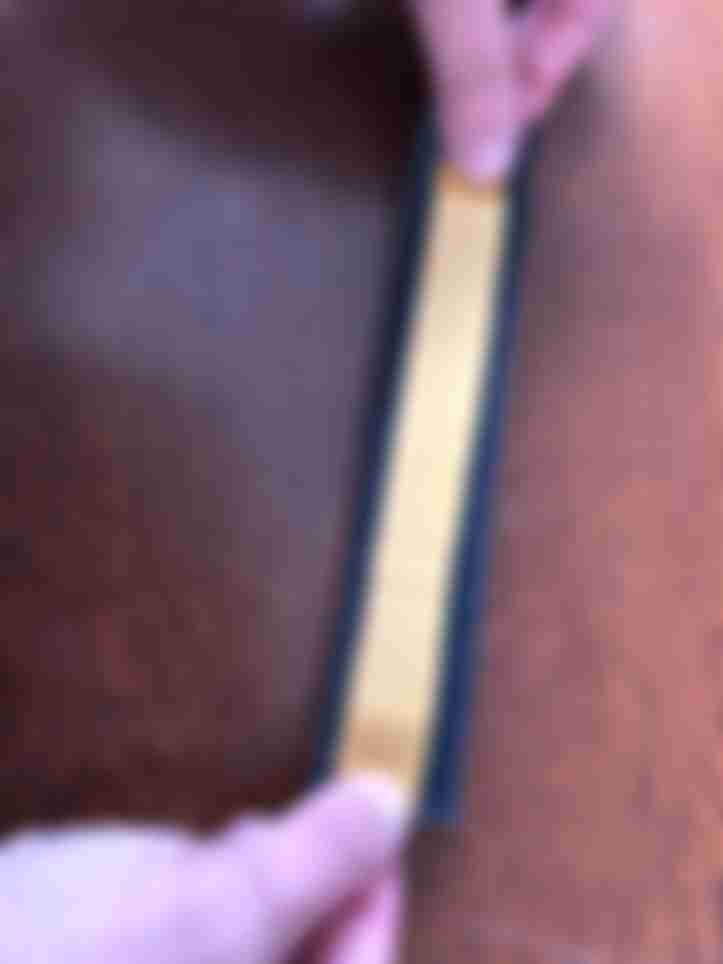
我们来看看您手中的这张纸。 最好从A4大小的纸开始。 剪出一个尺寸为26厘米乘21厘米的长方形纸片。 现在将这个纸片对折成两半。

第二步:圆边

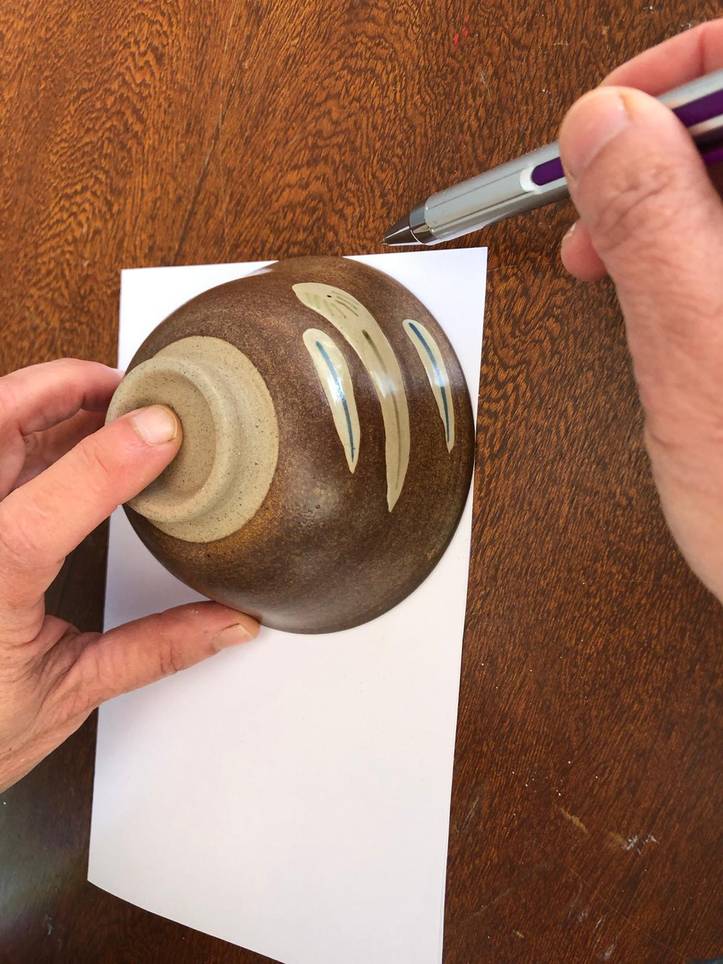
将圆形模具放在折叠纸的一角,在纸的一角画一个圆形。

步骤3:切割边缘

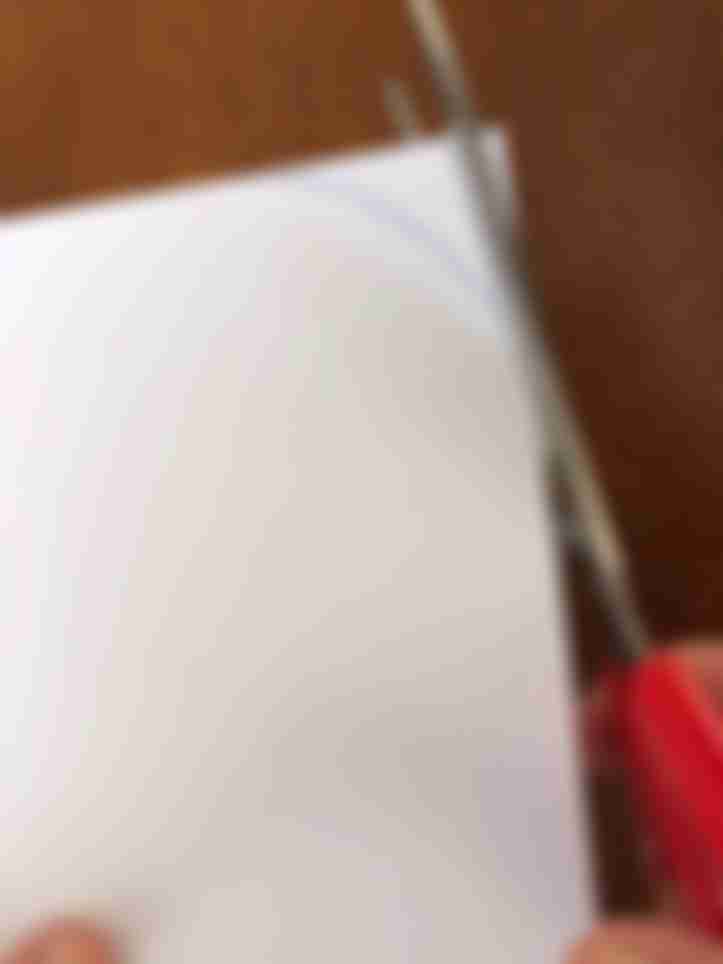
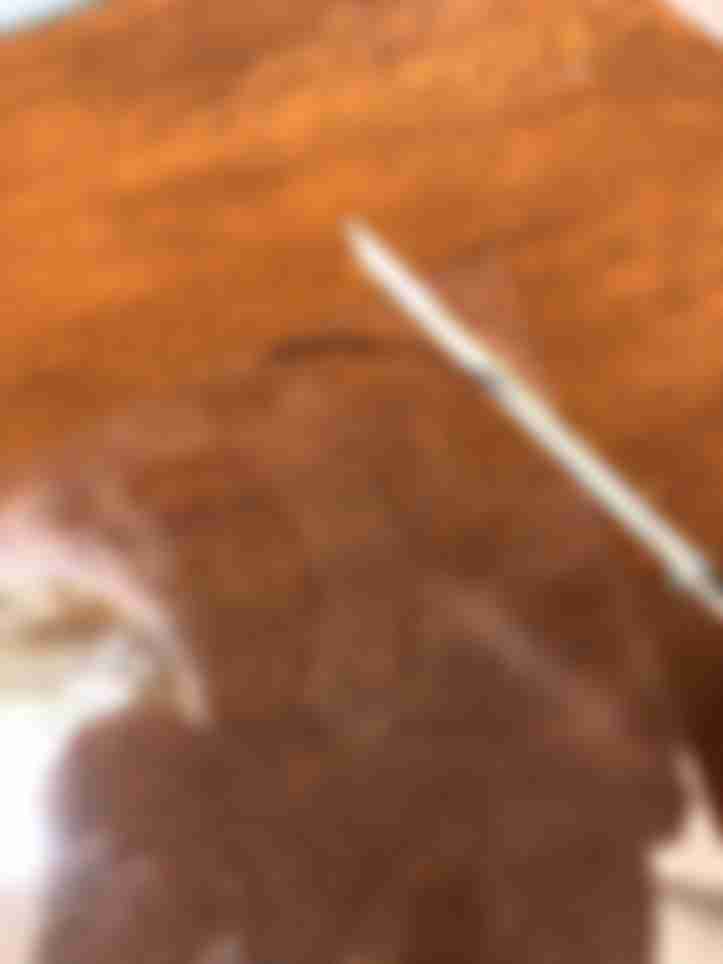
用剪刀沿着钢笔留下的圆形剪出纸张的尖端。
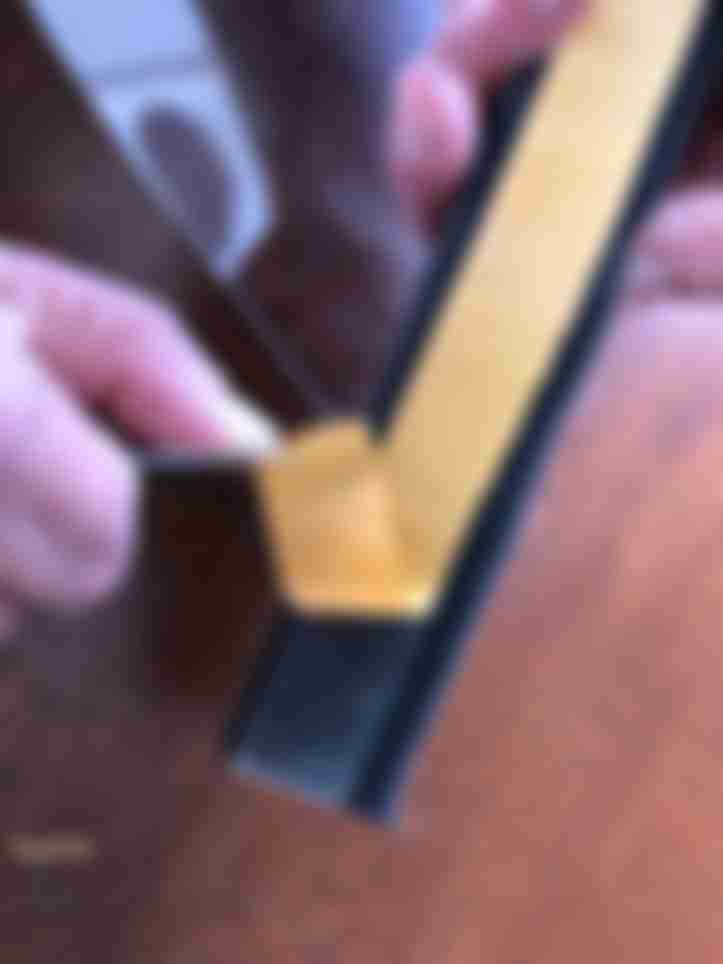
第4步:两边滚圆

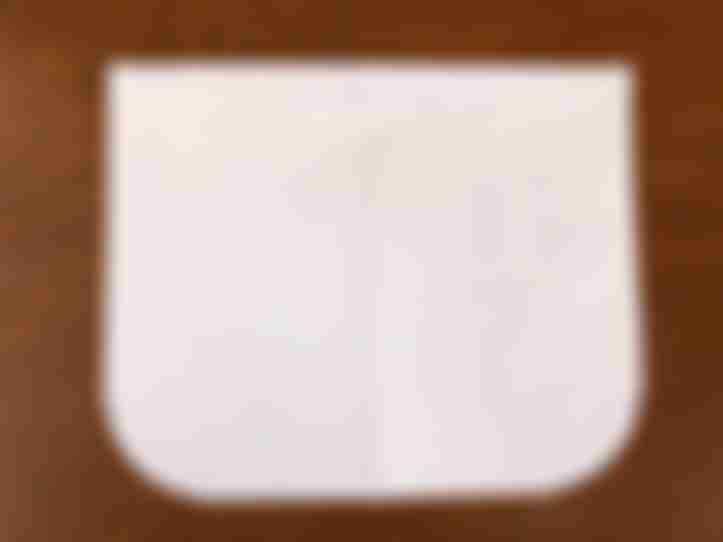
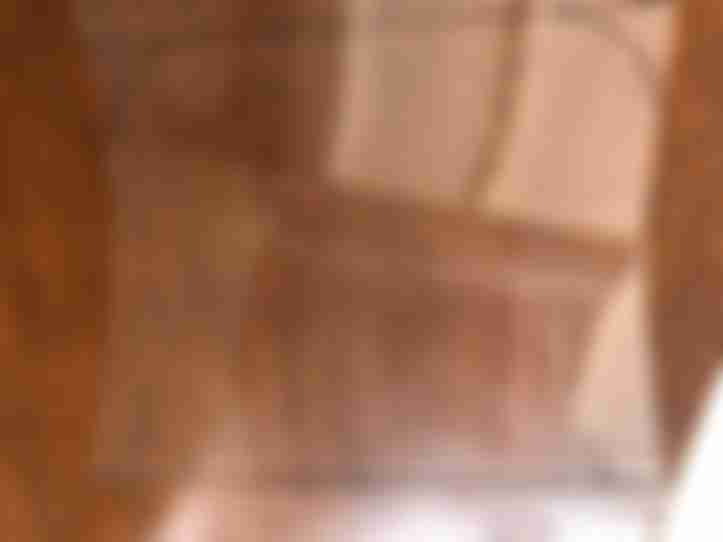
现在对相邻的角重复步骤3。 将碗放在相邻的一侧,用钢笔画出一条曲线,然后沿着这条曲线进行切割。 最终结果应该像您在图片中看到的那样。

步骤 5:测量纸张

将纸张放在塑料布上,根据纸张的大小和形状裁剪塑料布。

第6步:论文提纲

用记号笔或钢笔在塑料纸上画出纸张的轮廓。

第7步:切割塑料

用剪刀将多余的塑料布按照记号笔划出的轮廓剪掉。
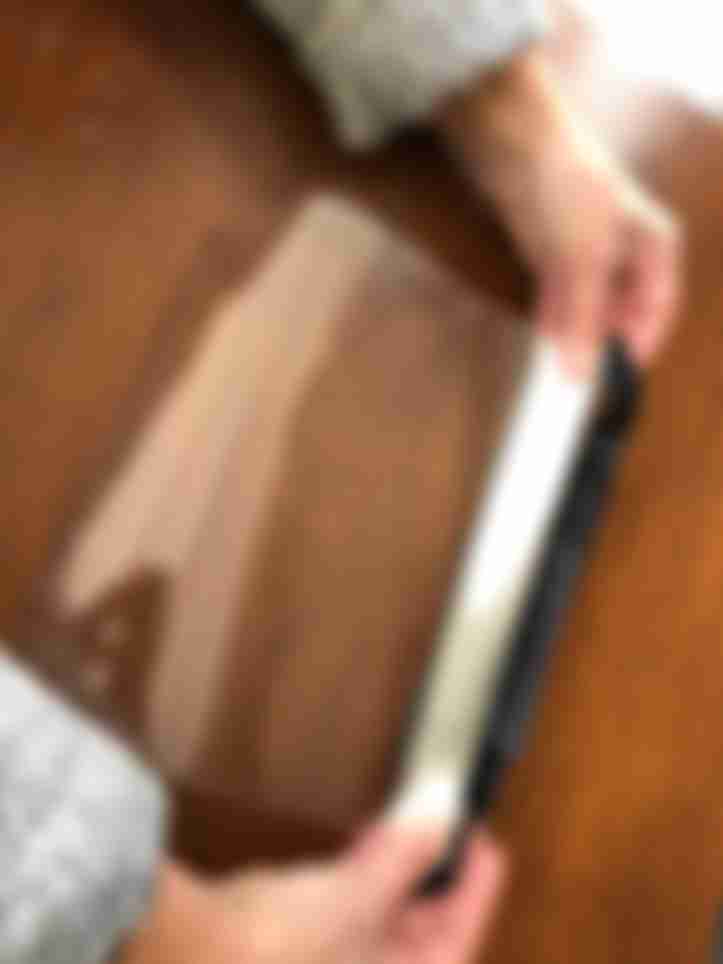
See_also: 如何在家制作木质钩针线圈

步骤8:裁剪板

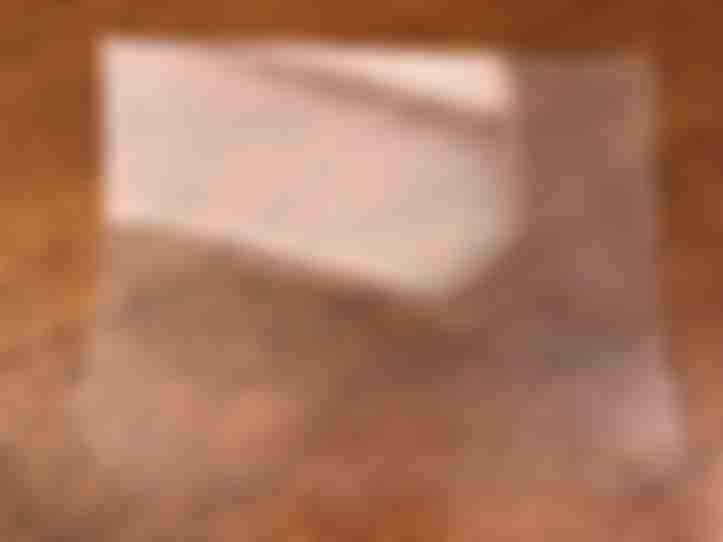
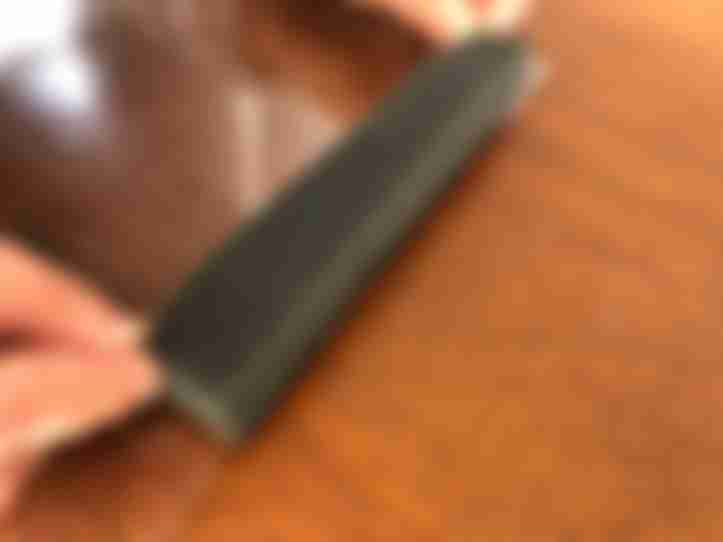
现在您应该得到一块形状如图所示的塑料板。
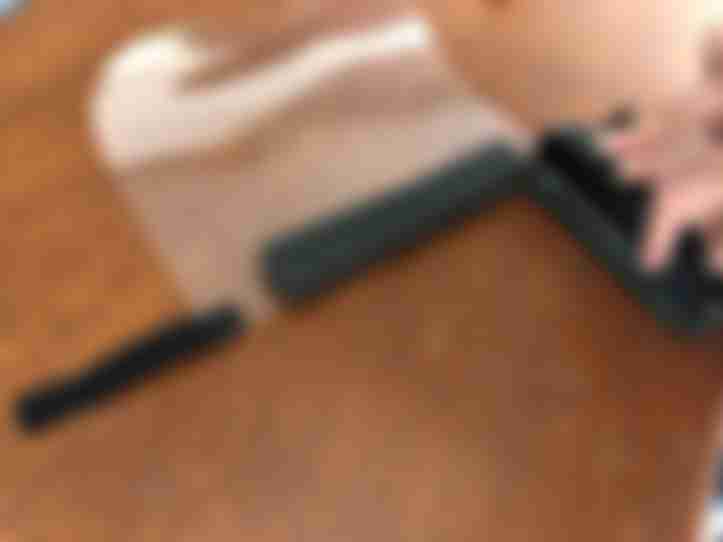
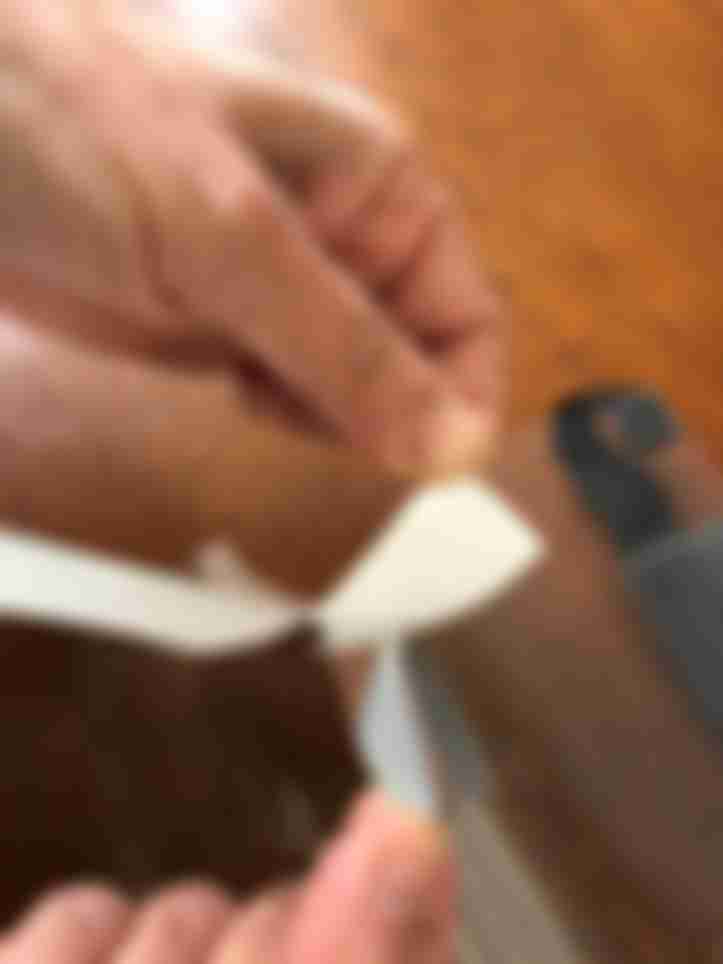
第九步:切割泡沫

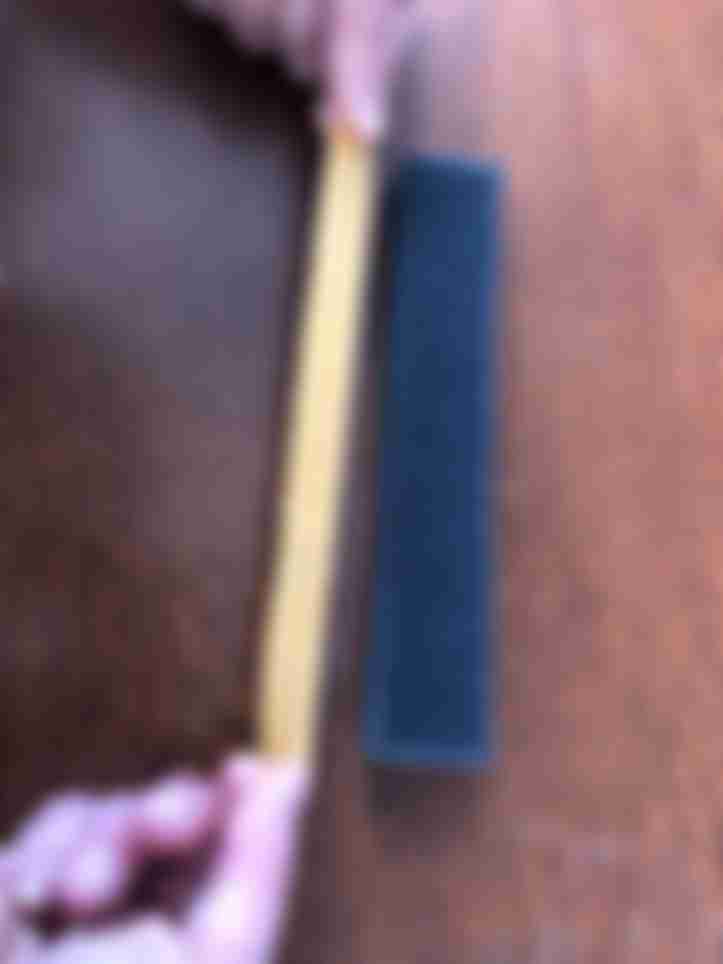
剪下一块宽约5厘米、长约18厘米的泡沫塑料,并剪下一块与之完全吻合的双面胶带。

See_also: 如何用10个步骤快速清洁保温杯

第10步:粘合泡沫 - I

撕掉双面胶带一侧的粘合剂,将其粘在泡沫较平的一侧。

第11步:粘贴泡沫 - II

用剪刀的尖头将胶带另一面的粘胶撕下。

第12步:粘合泡沫 - III

将泡沫粘在塑料保护罩的直边或非弯曲边上。 泡沫应放在塑料保护罩这一侧的中央。
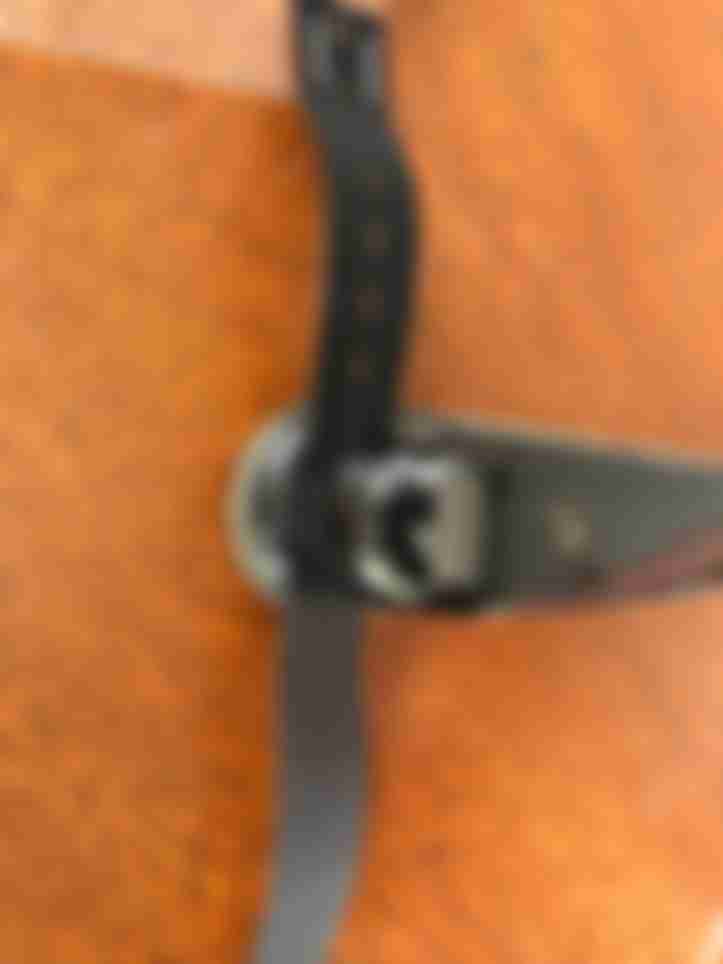
第13步:胶带和尼龙搭扣条

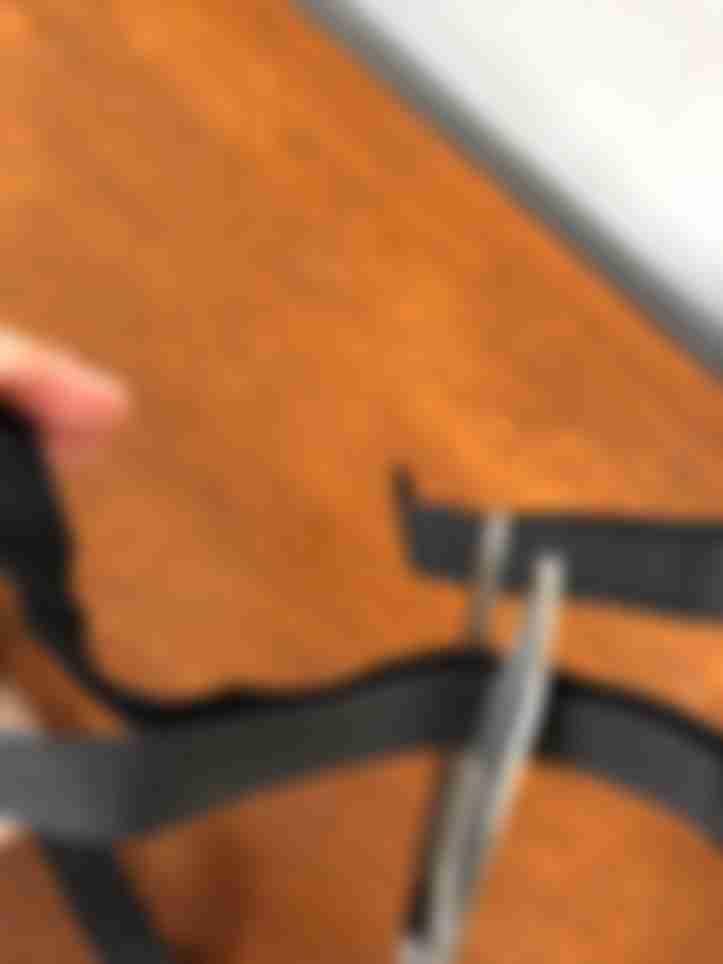
剪下两段丝带、松紧带或布条,长度约为5厘米,宽度约为2.5厘米。 剪下两段尼龙搭扣,长度约为20厘米,宽度约为2.5厘米。 尼龙搭扣的大小取决于您的尺寸。
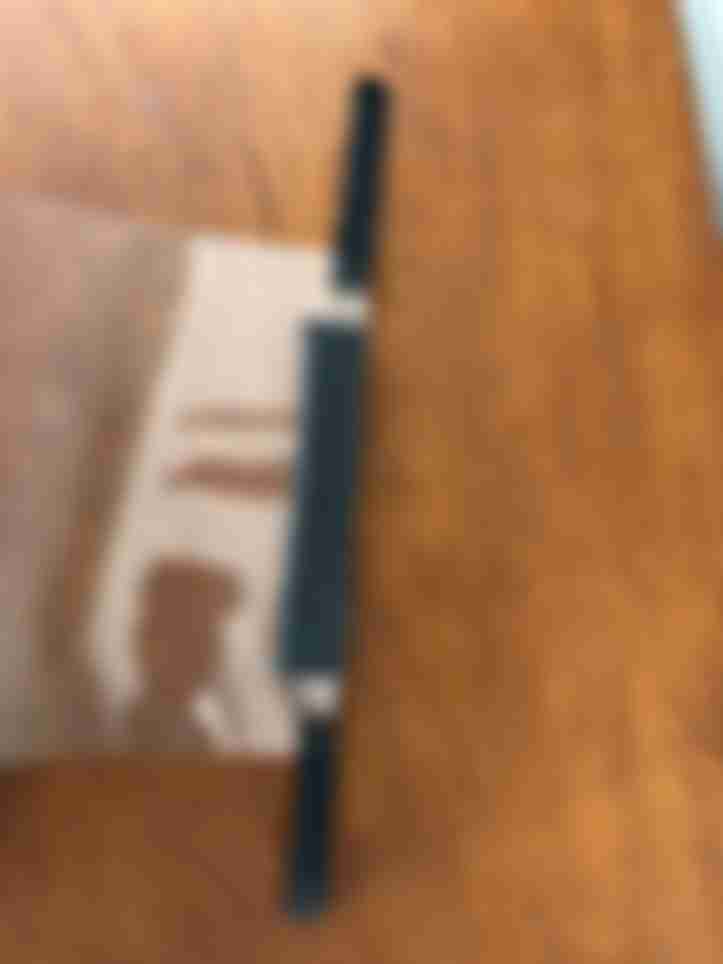
第14步:粘贴丝带 - I

将面罩放在桌子上,泡沫面朝上。 现在将每条胶带钉在塑料面罩的两侧,如图所示。 每个连接处应钉两次。

另请参阅:如何用14个步骤制作纸篓

第15步:安装色带 - II

粘贴胶带后,其外观如图所示。

第16步:粘贴魔术贴 - I

现在将两块胶带的两端分别钉在一块尼龙搭扣上。 确保在每个连接处钉两次。

第17步:粘贴魔术贴 - II

确保尼龙搭扣的两侧在自由端相接并粘牢。

第18步:补丁 - I

使用您现有的粘合剂。 取下底盖。 如果没有合适的尺寸,您可以将其裁剪成合适的尺寸。 它应覆盖塑料遮阳板的顶部,这样您就看不到粘在后面的泡沫。

第19步:补丁 - II

将粘合剂涂抹在泡沫另一侧的塑料保护层正面上部。
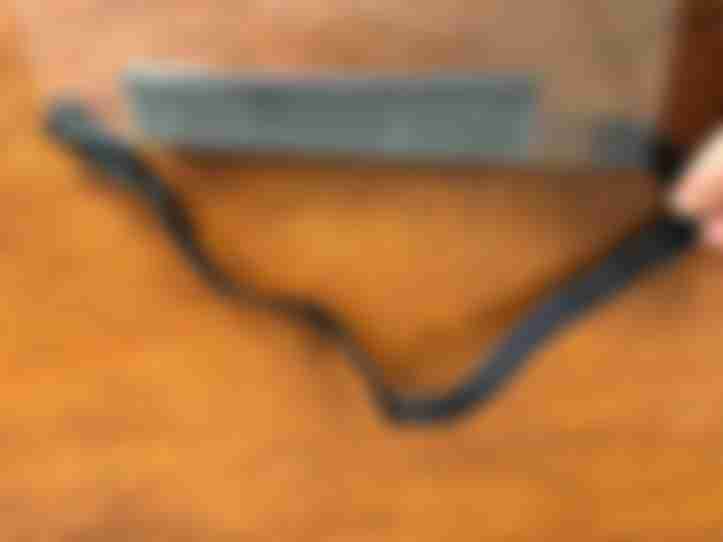
步骤20:完成!

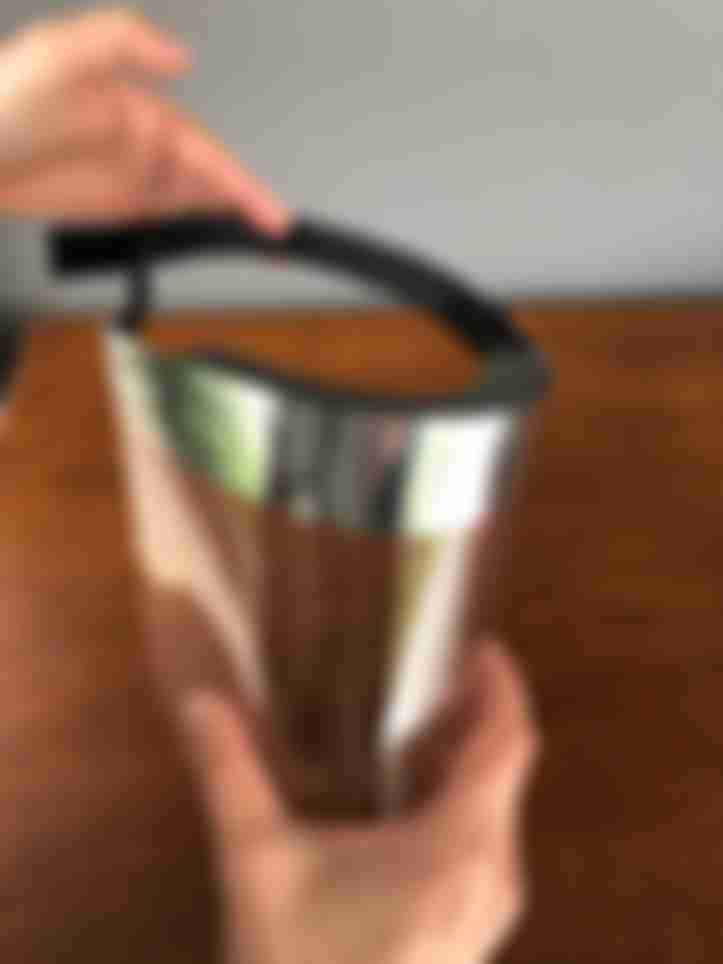
举起它,看看您的面罩或透明面罩是什么样子!试戴一下,看看是否合身,是否能遮住您的脸。 记住,您可以根据需要调整魔术贴条。

另请参阅:DIY手机支架:用15个步骤为手机充电的支架

Albert Evans

Jeremy Cruz is a renowned interior designer and passionate blogger. With a creative flair and an eye for detail, Jeremy has transformed numerous spaces into stunning living environments. Born and raised in a family of architects, design runs in his blood. From a young age, he was immersed in the world of aesthetics, constantly surrounded by blueprints and sketches.After obtaining a bachelor's degree in Interior Design from a prestigious university, Jeremy embarked on a journey to bring his vision to life. With years of experience in the industry, he has worked with high-profile clients, designing exquisite living spaces that embody both functionality and elegance. His ability to understand clients' preferences and transform their dreams into reality sets him apart in the interior design world.Jeremy's passion for interior design extends beyond creating beautiful spaces. As an avid writer, he shares his expertise and knowledge through his blog, Decoration, Interior Design, Ideas for Kitchens and Bathrooms. Through this platform, he aims to inspire and guide readers in their own design endeavors. From tips and tricks to the latest trends, Jeremy provides valuable insights that help readers make informed decisions about their living spaces.With a focus on kitchens and bathrooms, Jeremy believes that these areas hold tremendous potential for both functionality and aestheticappeal. He firmly believes that a well-designed kitchen can be the heart of a home, fostering family connections and culinary creativity. Similarly, a beautifully designed bathroom can create a soothing oasis, allowing individuals to relax and rejuvenate.Jeremy's blog is a go-to resource for design enthusiasts, homeowners, and anyone looking to revamp their living spaces. His articles engage readers with captivating visuals, expert advice, and detailed guides. Through his blog, Jeremy strives to empower individuals to create personalized spaces that reflect their unique personalities, lifestyles, and tastes.When Jeremy is not designing or writing, he can be found exploring new design trends, visiting art galleries, or sipping coffee in cozy cafes. His thirst for inspiration and continuous learning is evident in the well-crafted spaces he creates and the insightful content he shares. Jeremy Cruz is a name synonymous with creativity, expertise, and innovation in the field of interior design.