
Table of contents
说明
当您的藏书越来越多,需要找个地方有序地存放它们时,您会怎么做呢? 最简单的选择是从家具店买一个书架。 但是,如果您的预算有限,DIY纸板书架是更便宜的选择。 另外,您还可以定制纸板书架,使其与空间完美契合。购买木材或中密度纤维板可能会增加制作书架的费用,除非您有其他项目的剩余材料和木工技能。 但如果没有,也有一些纸板书架的想法。
您可能会怀疑硬纸板是否足够坚固以支撑书籍的重量,但它是一种用途相当广泛的材料,可以保持其形状。 因此,与其丢弃硬纸板包装或纸箱,不如节省开支,将它们变成抽屉收纳盒、化妆品收纳盒或硬纸板书架,下面我们就来教教您。
纸板能否承受书籍的重量?
除非您打算存放大量皮革装订的厚重书籍,否则只要使用优质纸板,纸板书架就可以了。
纸板货架的使用寿命有多长?
虽然硬纸板会随着时间的推移而磨损或积聚灰尘,但定期清洁可以使其使用几个月,必要时您可以省下钱来购买合适的书架。 在清洁硬纸板书架时,唯一要注意的是防止材料受潮,因为它可能会分解。 用掸子除去灰尘是清洁硬纸板书架的最佳方法。或者,您也可以用自粘墙纸或乙烯基材料覆盖,使其更加美观,更易于清洁。
我可以用这个DIY纸板架做其他东西吗?
本教程中的书架设计可以放置轻质材料,因此您不能用它来存放餐具,但您可以用硬纸板书架来存放手工材料,如绣花线、颜料管、丝带、手工纸或其他不太重的东西。
现在,让我们看看如何用15个步骤制作纸板架。
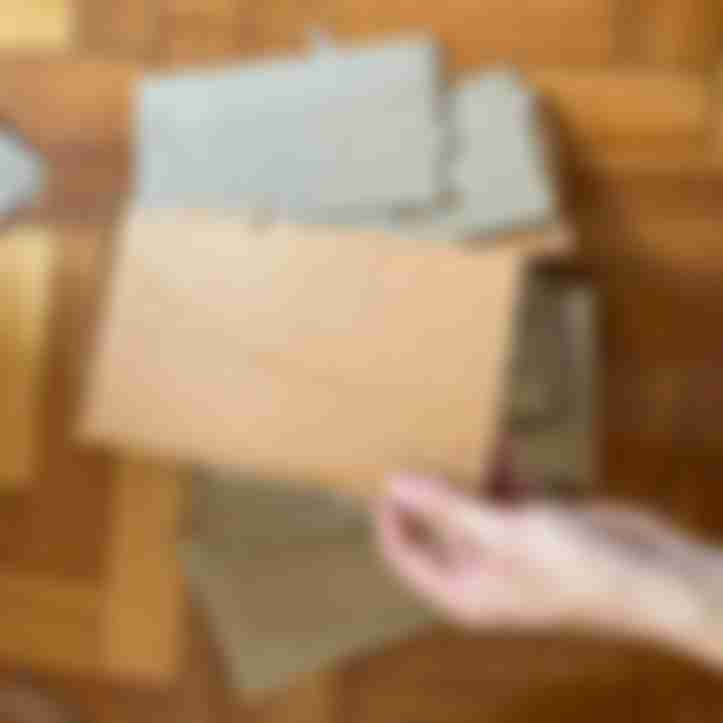
第一步:切割纸板
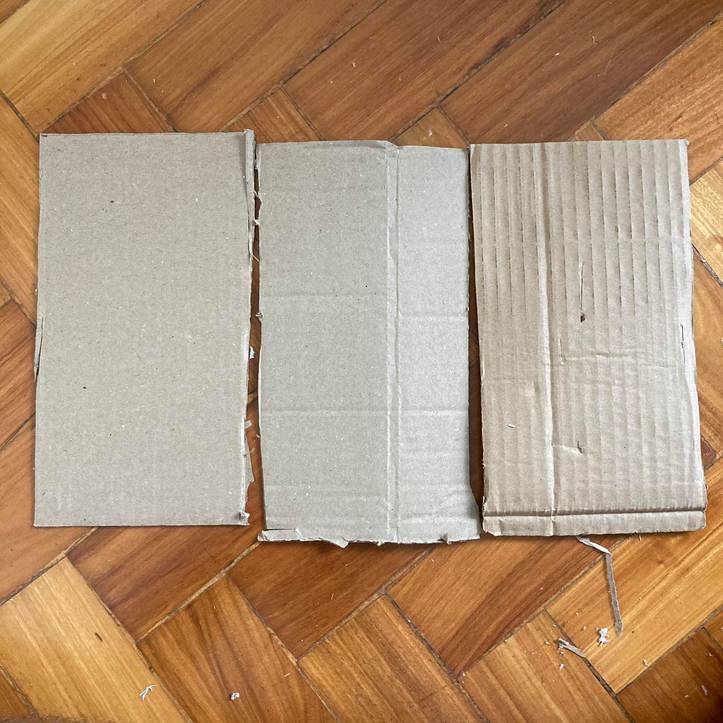
首先将硬纸板切割成13 x 23厘米的小块,总共需要切割18块。
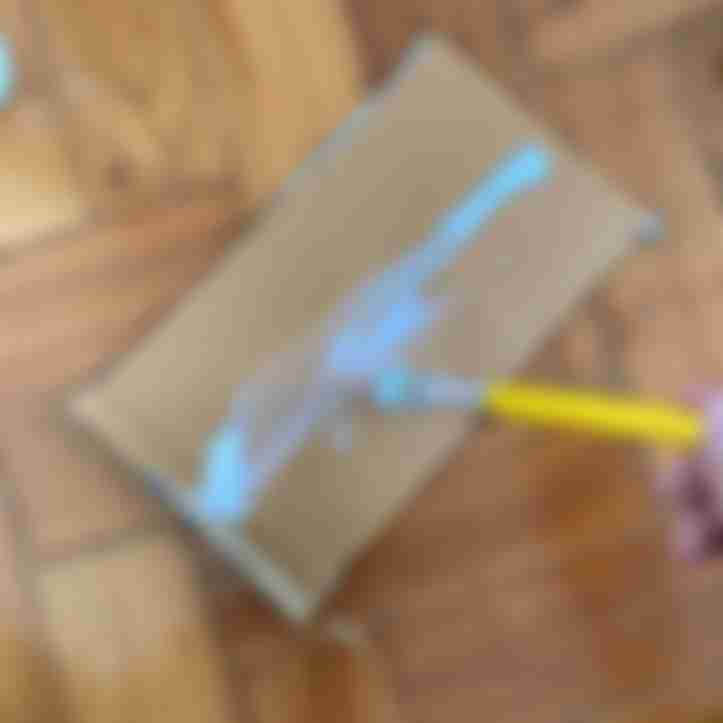
第二步:分组并粘贴
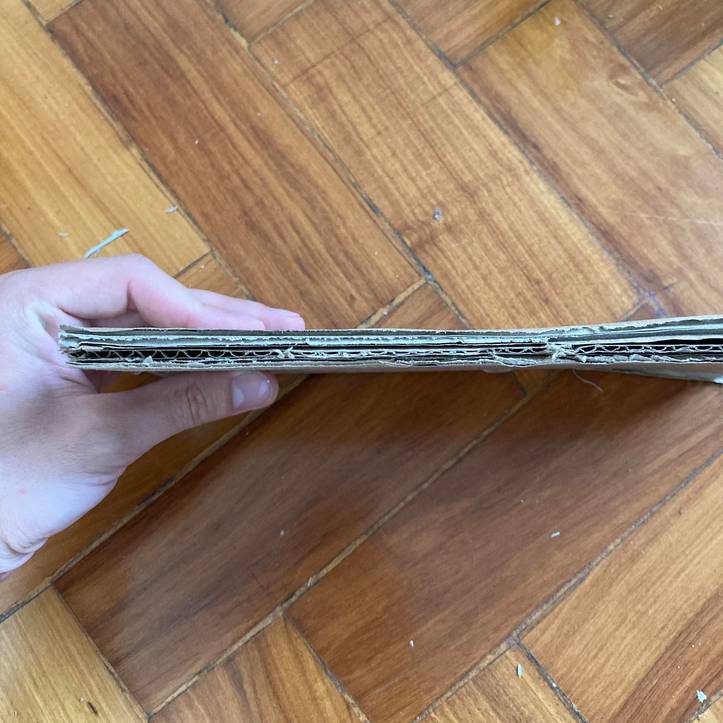
然后将这些碎片分成三组。 在碎片表面之间涂上白胶,将它们粘在一起,形成一个积木块。 将三个碎片组合成一个积木块有助于加固纸板,防止其变形。
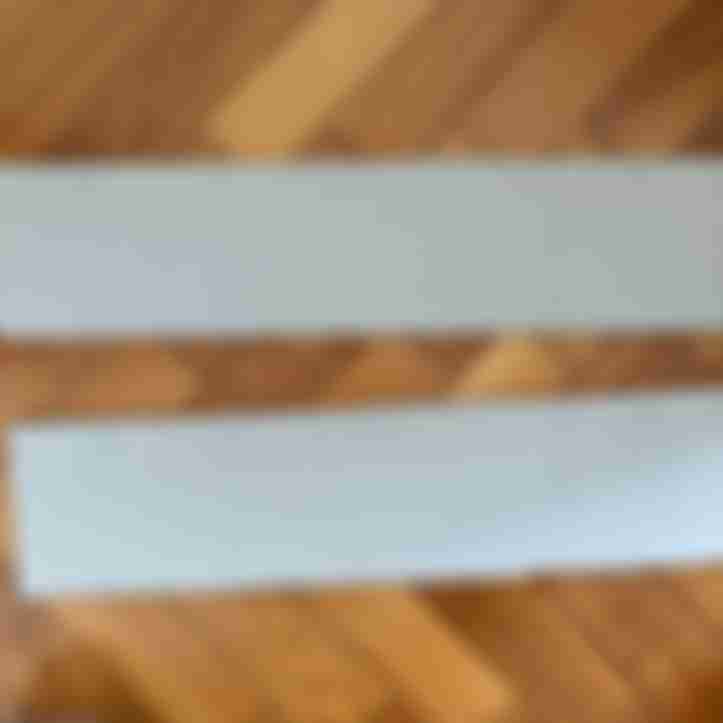
第三步:裁剪纸条,形成纸板架的边框
裁剪6块纸板,每块尺寸为13 cm x 60 cm,将其分成两组,每组3块。
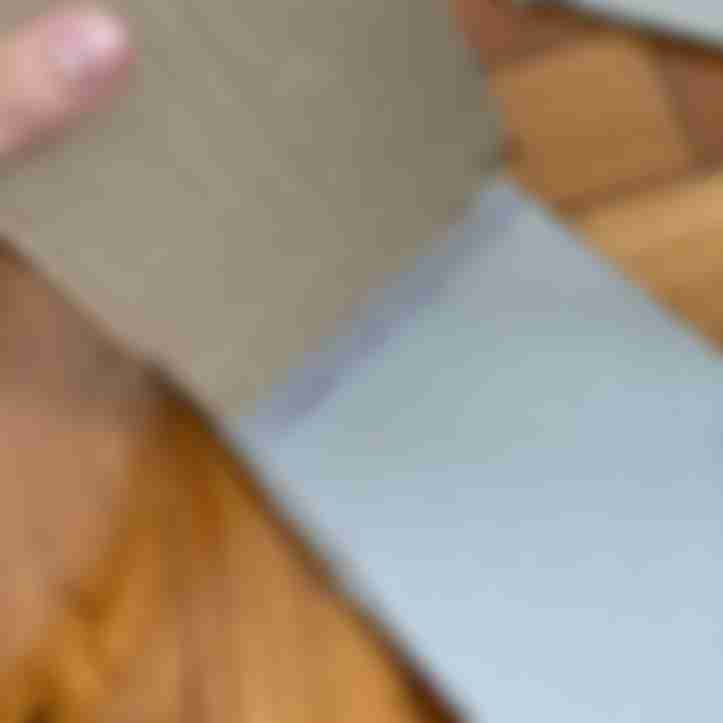
第四步:粘合各层
在每个木块的纸板层之间涂上胶水,将它们粘在一起。
第5步:切割顶部和底部搁板条
然后,裁剪出6块纸板,每块尺寸为13 cm x 26 cm,并将它们分成2块,每块3块。
第六步:粘树叶
待胶干后再进行下一步。
步骤7:测量并标记较大的纸板条
胶水干透后,用尺子在两块13 x 60厘米的木块边上17厘米处测量并做标记。 在标记处画垂直线。
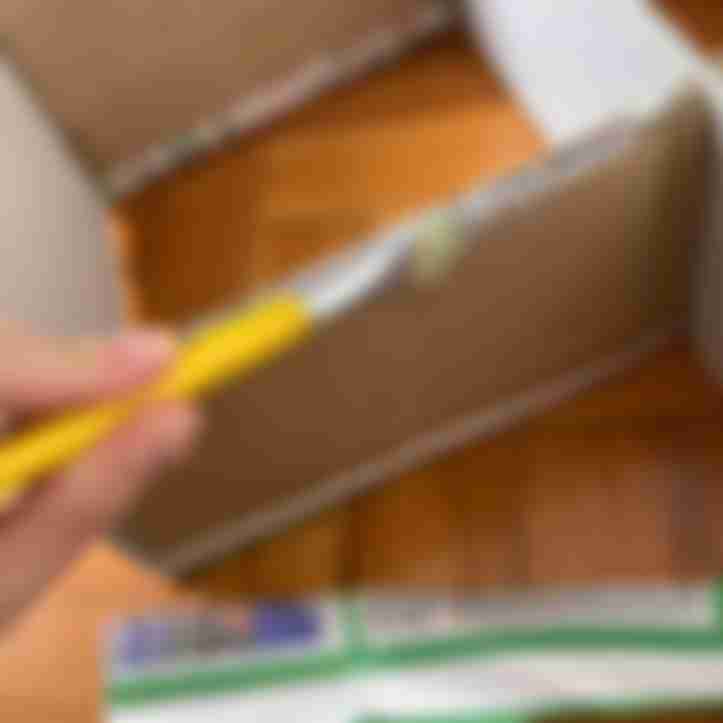
第8步:粘贴小块纸板
沿着上一步所画的线涂上一层厚厚的热胶,然后将13 x 23厘米的纸板固定在热胶上。
第九步:用物体固定
如图所示,您可以将重物放在胶合件的两侧,使其保持直立。
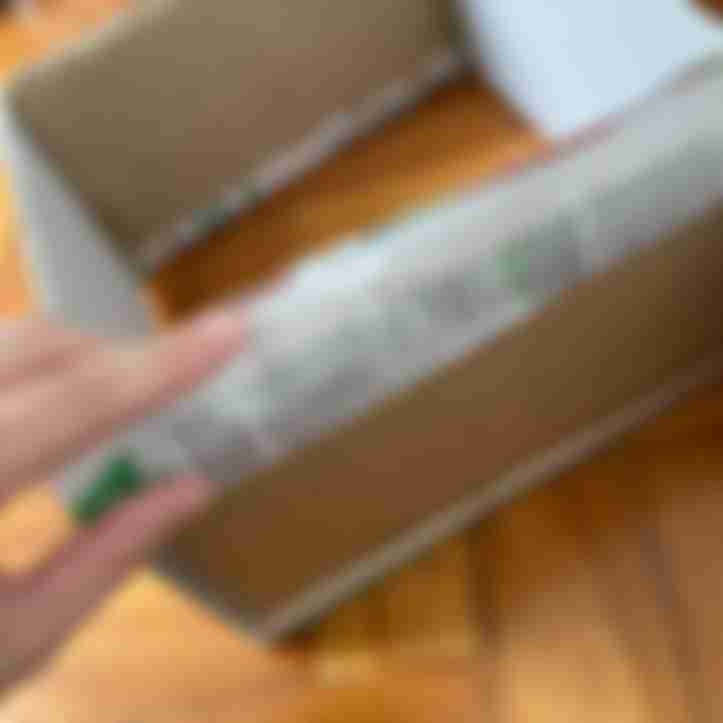
第10步:将小块粘到框架上
接着,取一个13厘米x26厘米的小纸板块,在两侧涂上热熔胶,并将其与上一步粘好的垂直纸板块连接起来。
现在在另一块13 x 60厘米的纸板上重复步骤8至10。 完成后,您将得到两个相同的框架。 将它们放置在一起,使较大的纸板面对面。
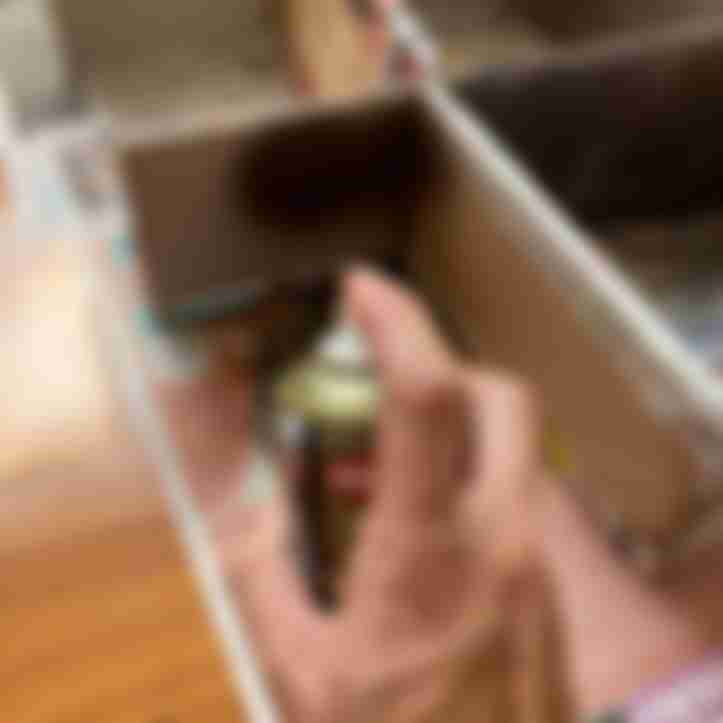
See_also: 简单DIY:如何制作圆形镜框第11步:连接小片
从剩余的13 x 23厘米的木块中取出一块,用它来连接两个模子,将其与上下类似大小的木块对齐,然后涂上热胶固定。
步骤12:在另一侧重复上述步骤
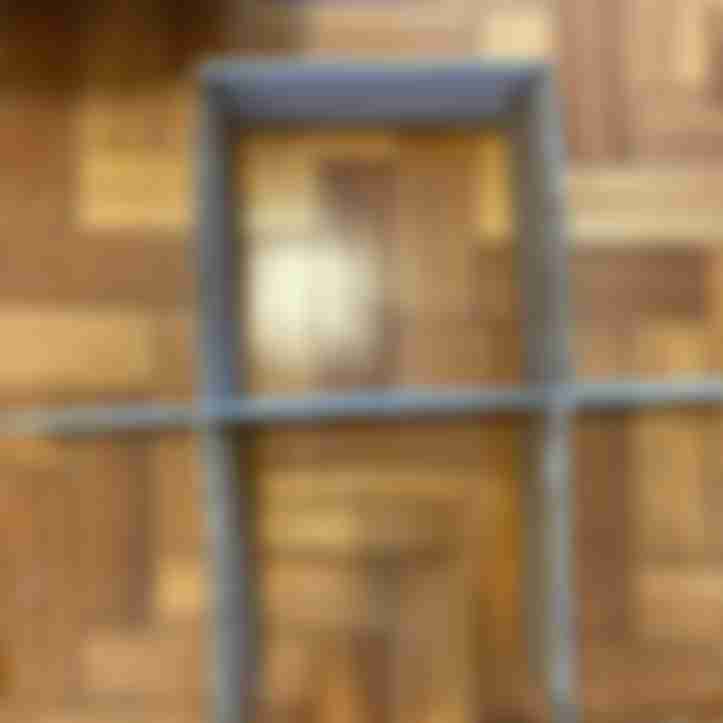
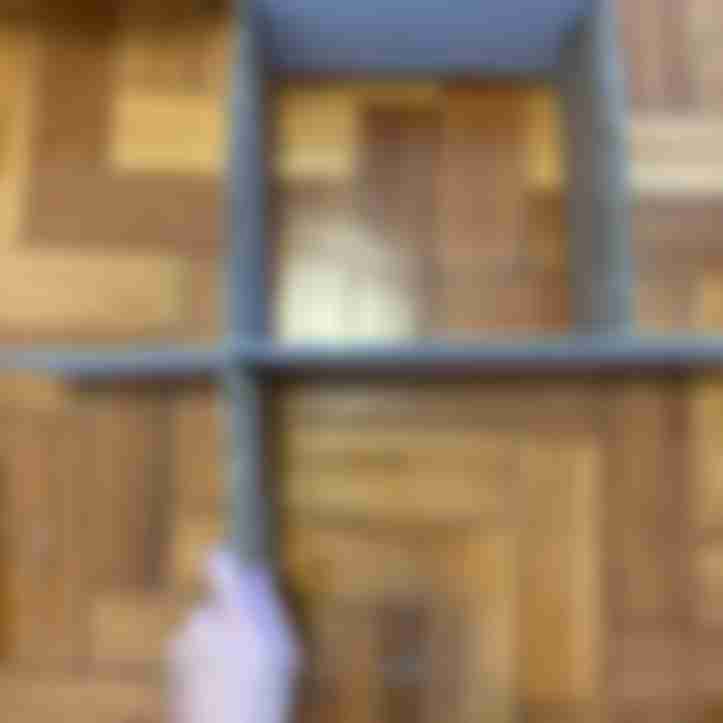
对剩下的第二个木块重复上述步骤,将其固定在步骤11中连接的木块的另一侧。 现在整个纸板架子框架就完成了。
See_also: 如何用6个步骤去除地毯上的咖啡渍第13步:给架子一个更好的表面
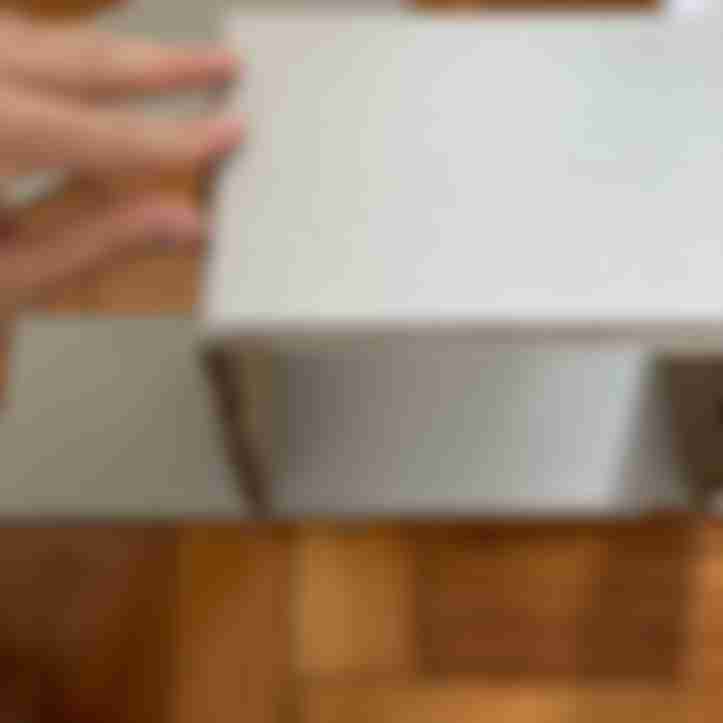
在架子外缘涂上白胶。
第14步:用报纸覆盖
用小块报纸贴在架子边缘,使其更加美观。
第15步:喷漆装饰
最后用喷漆覆盖整个架子。
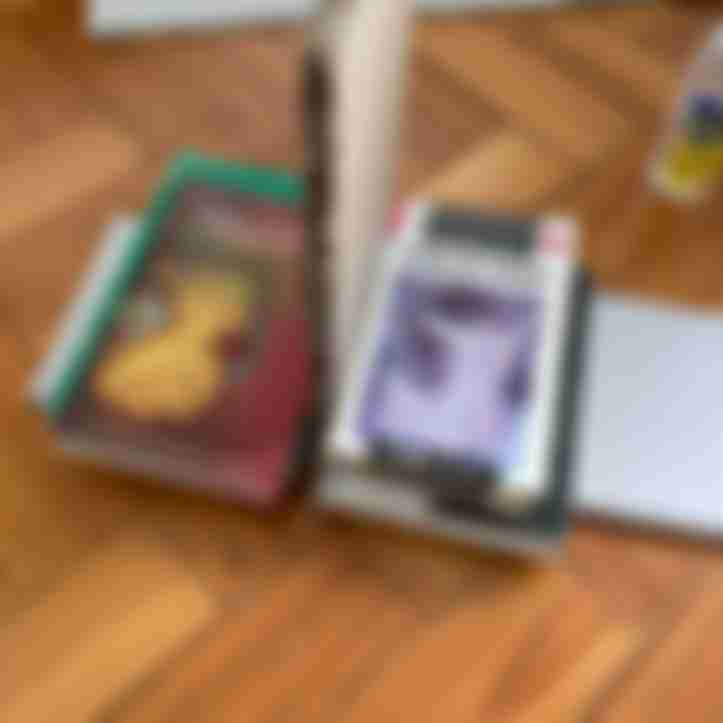
DIY纸板架
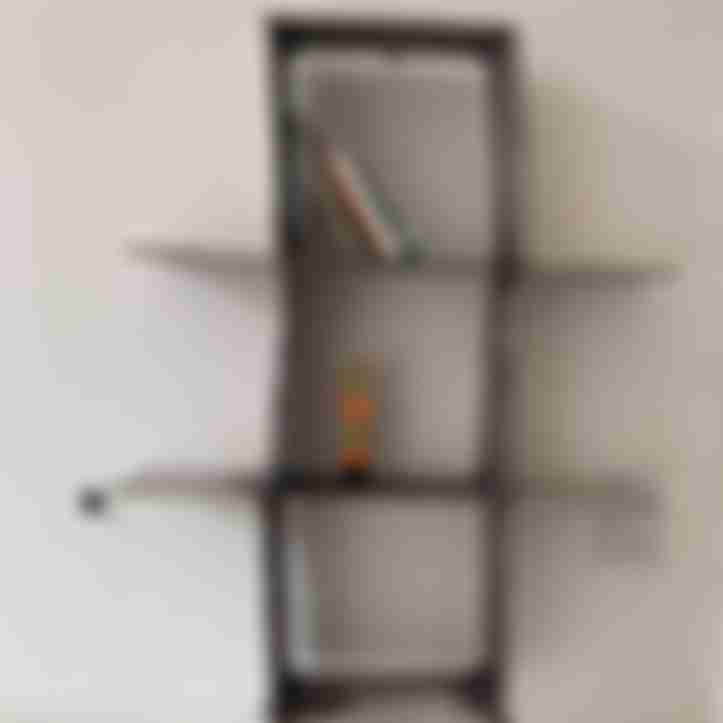
现在,您可以在书架上摆放书籍、手工艺品或其他轻便物品。