
Table of contents
说明
灯具总能为装饰增添特殊的韵味。 它们在房屋的任何空间都非常漂亮:卧室、客厅、阳台甚至浴室。 因此,总是值得想方设法拥有自己的灯具。
因为我的目标是帮助您节省开支,让您拥有自己想要的装饰,所以今天我决定教您如何用纸巾制作一盏台灯。 是的,完全可以用丝绸和鲜花制作一盏台灯,让您的家看起来更加真实。 最棒的是,这种DIY台灯可以有多种不同的定制方式。 只是释放您的创造力!
让我们一起来看看吧,我相信您会发现这篇关于手工艺品的DIY文章对装饰您的家非常有用。
See_also: 珠花:17个简单步骤,步步为营关注我,获得灵感!
第一步:采摘花朵和叶子
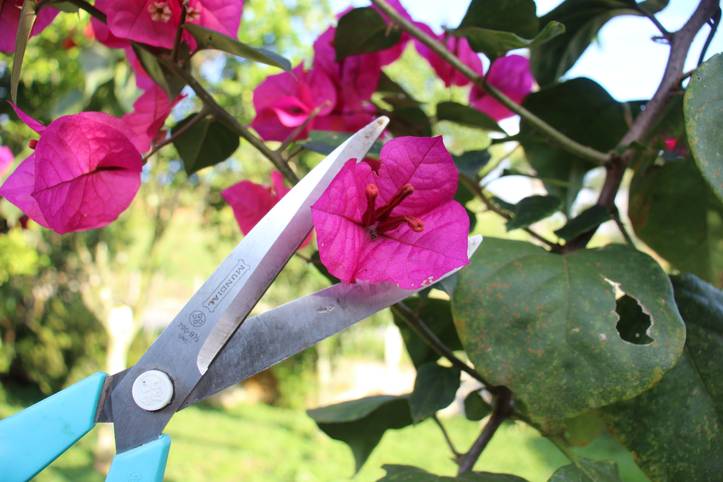
在您的花园或公园散步,采摘一些新鲜的花朵和叶子。 您可以选择任何花朵来制作DIY纸巾灯。 选择完整无虫的花朵和叶子。
第二步:清洗花朵和叶片
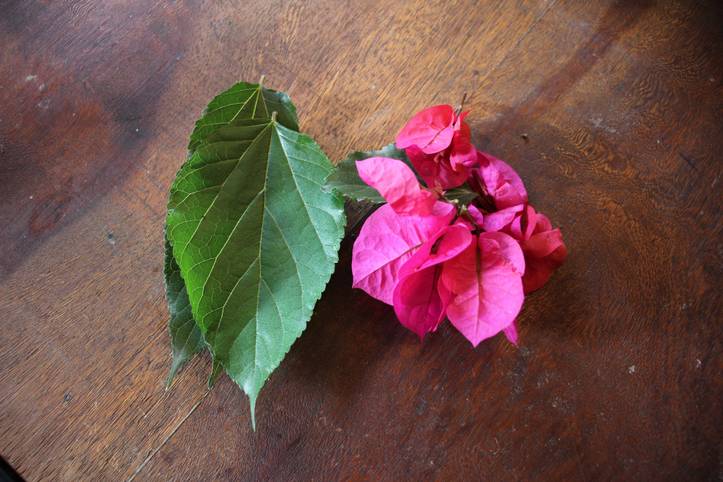
清洗花朵和叶子,使其无灰尘和污垢,然后放在阴凉处晾干。
第三步:撕掉纸巾

用几张纸巾撕成小块。
另请参见: 如何使用蜡笔制作彩色蜡烛。
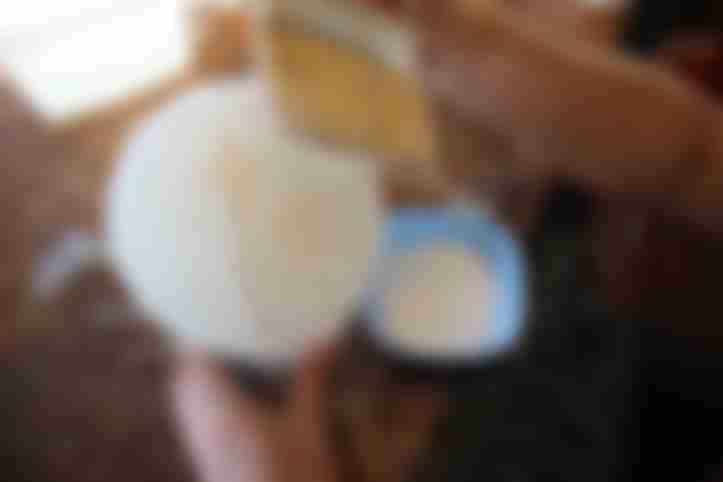
第四步:混合胶水和水
在一个碗中,将胶水和水以1:1的比例混合。 取出颗粒,确保混合物均匀。
See_also: 如何制作多肉植物容器{DIY装饰}.第5步:填充膀胱

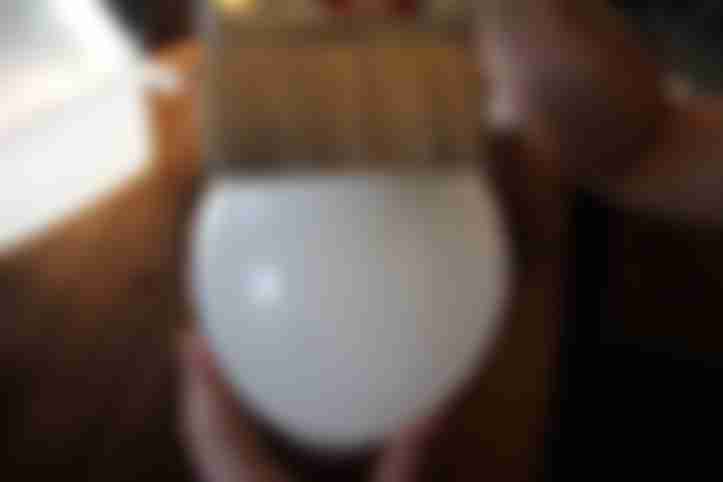
气球的大小取决于您希望您的灯有多大或多小。
第六步:粘贴第一层纸巾
仅用水和刷子将第一层纸巾粘在气球周围。
提示 对于气球的第一层,您可以使用大块的纸巾,无需将其撕破。 纸巾只需沾水即可粘在气球上。 使用刷子沾水,湿纸巾就会粘在气球表面。
第7步:在气球上涂抹胶水和水的混合物
用画笔在气球表面覆盖的第一层纸巾上涂满胶水。 在气球上的第一层纸巾上涂满胶水。
第八步:粘第二层纸巾
用画笔蘸取胶水和水的混合物,在气球周围粘上第二层纸巾。 用第二层纸巾覆盖整个气球表面。 为此,使用撕碎的纸巾。
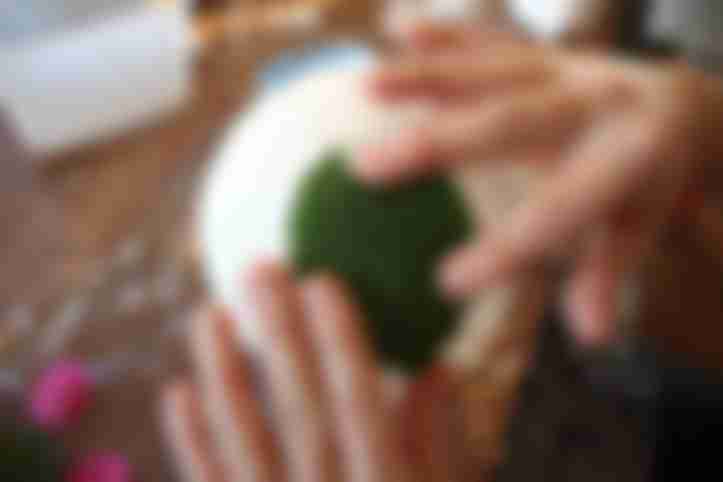
第九步:定位第一朵花朵

将第一朵花插在气球上。
提示: 您可以用镊子夹花和叶,这样会使您的工作更轻松。
第10步:粘纸巾

在花瓣上轻轻放上一张纸巾,用水和胶水的混合物将纸巾粘在花上。
步骤11:重复所有的花朵和叶子
重复第9和第10步,采摘所有的花朵和叶子。
提示: 您还可以用干花在DIY纸巾灯上创造出美丽的图案。
第十二步:晾干粘好的纸巾
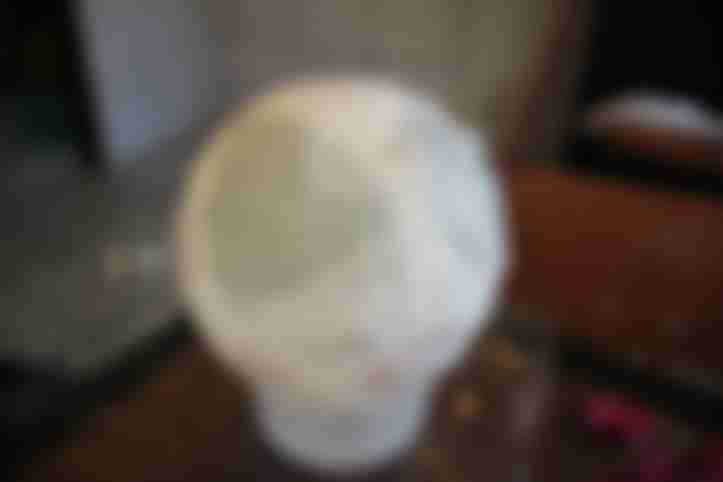
现在您需要等待12-15个小时让粘好的纸巾干透。
第13步:戳破气球

待一切干燥后,用小刀或尖锐物体戳破气球。
第14步:剪掉纸球的边缘
用锋利的剪刀小心地剪开纸巾球的边缘。
步骤15:在内部放置灯泡

- 取一块圆形木板作为灯的底座。
- 在圆木中心钻孔。
- 将电线插入孔中。
- 在电缆一侧安装支架。
- 用螺丝将支架固定在木制底座的顶部。
- 将灯泡放入灯座中。
- 现在将DIY纸巾灯放在木制底座上,并将灯连接好。
第16步:开灯

打开灯,您就可以看到您的台灯使您的装饰更加美丽精致。
现在就来看看如何制作芳香蜡烛,让环境更加迷人!
您知道这个小窍门吗?