
Table of contents
说明
随着DIY项目变得越来越流行,有人想出如何用简单的方法制作一盏手工灯只是时间问题。
幸运的是,我们已经有了数百种选择:它们都是精美、低成本的项目,让它们的作者引以为豪。
当然,我也为您提供了一些小贴士,希望能给您一些启发,让您不用花费太多就能照亮自己的家。 您所需要的只是一个灯泡、竹子、绳子和其他一些材料。 下面就是您制作竹灯的步骤。
但在您开始之前,值得指出的是,虽然这是一个简单的项目,但强烈建议在处理物体,特别是电力时保持所有安全。
See_also: 如何用21个步骤DIY个性化印章现在,让我们开始另一个伟大的DIY项目--竹灯创意。
获得灵感!
第一步:将两根竹子连接在一起
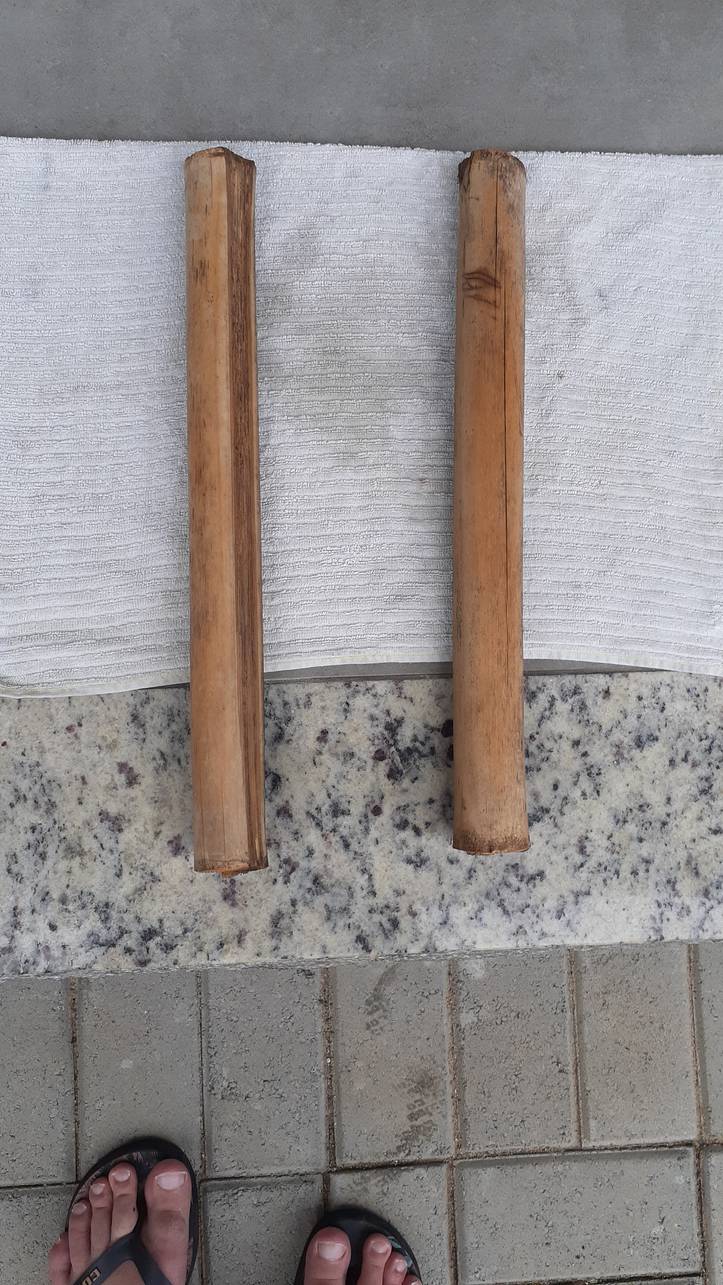
我选择了竹子作为基材,但您也可以选择其他更容易找到的材料。 重要的是,竹子要易于处理,以便切割成所需的尺寸。
第二步:将竹子从中间垂直切开

根据您选择的木材类型(和长度),这一步可能是不必要的。 但是,由于我选择的竹子尺寸不合适,我把它们切成了较细的条状。
提示: 小心竹尖,它们可能很锋利。
第三步:打磨木条
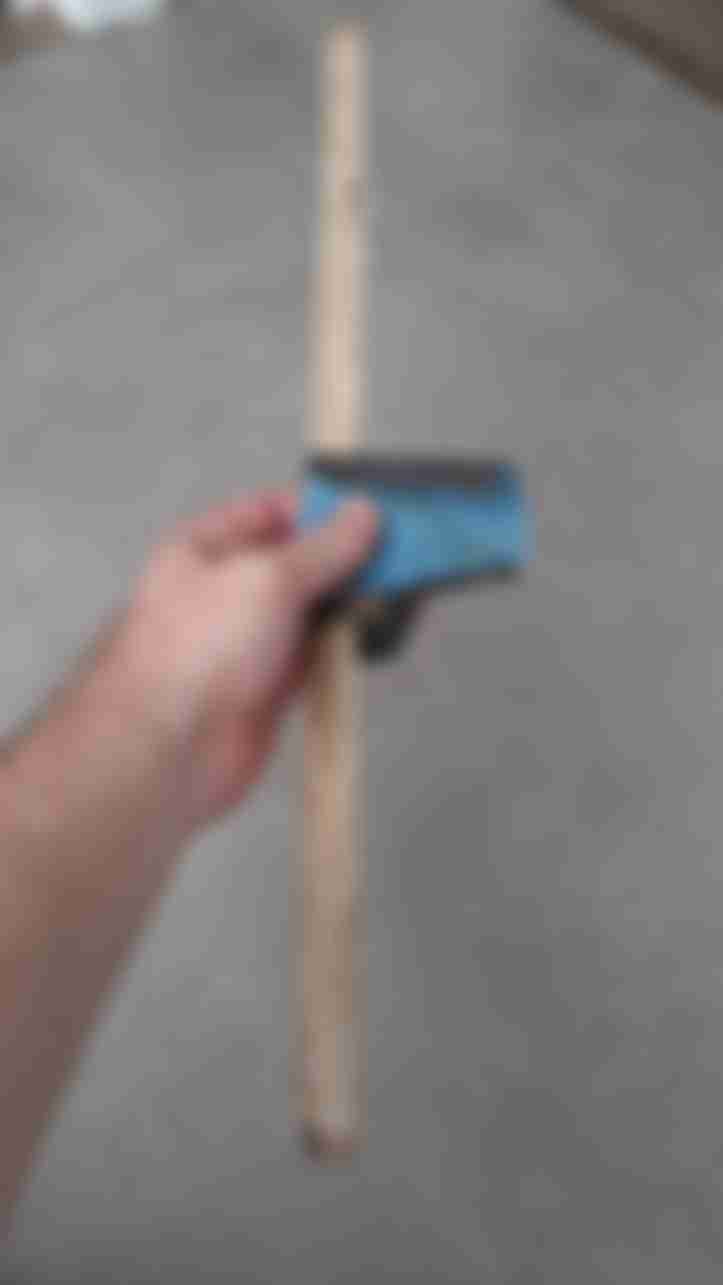
为避免起毛并使竹条看起来更美观,可对竹条进行打磨。
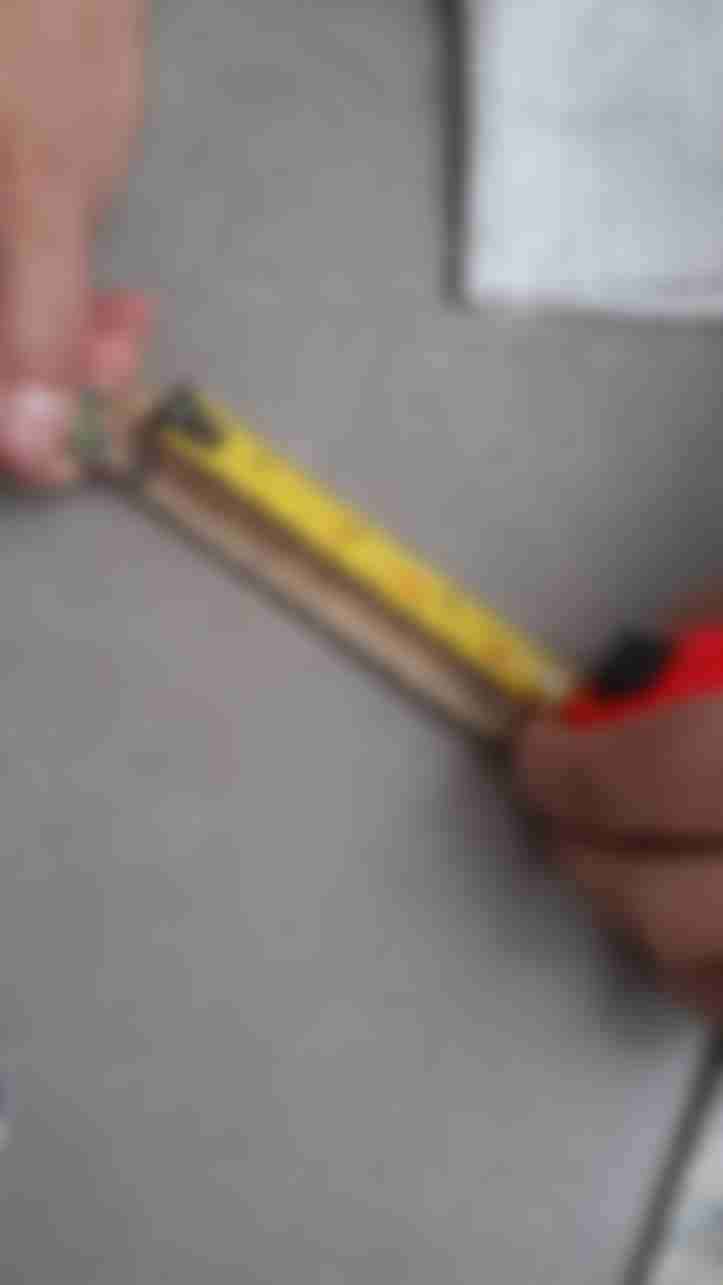
第四步:测量竹材并做标记
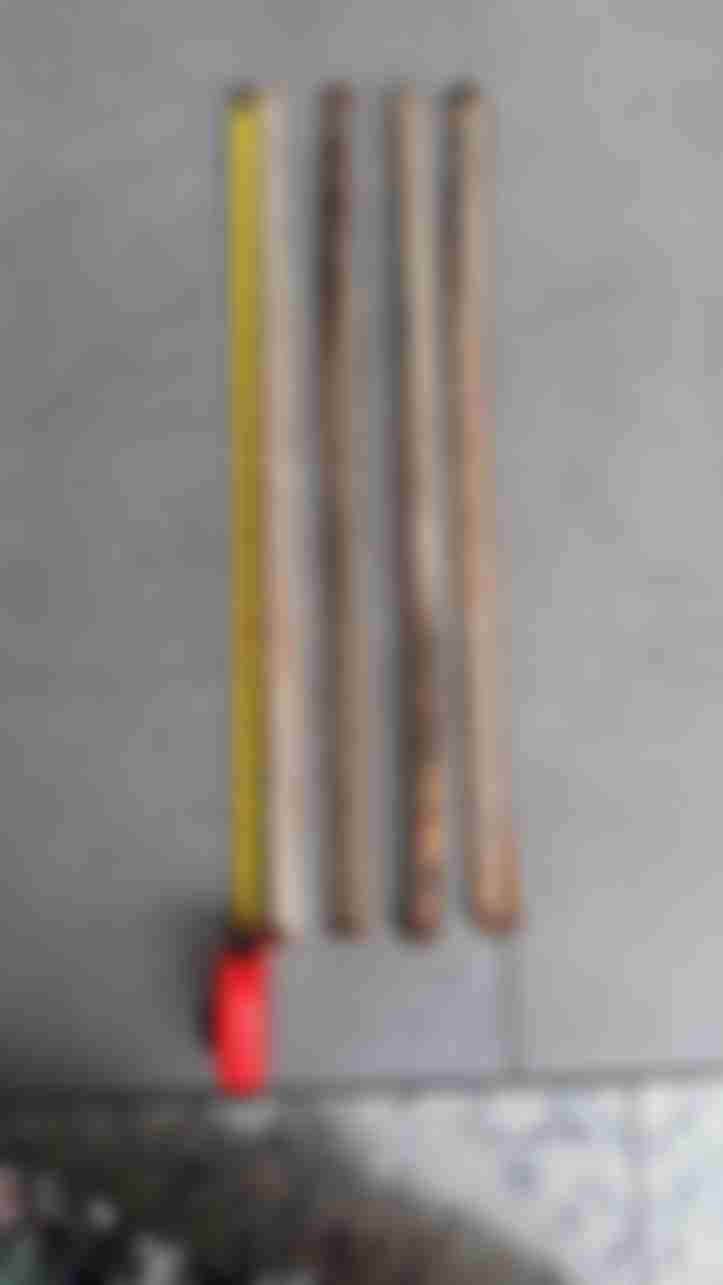
我选择的尺寸是45厘米,因为我的灯有三个面,所以我选择了三根竹条。
第5步:测量灯座的竹片并做标记
为支撑灯座,划出三条10厘米长的长条。
第六步:锯竹

用钢锯按照您所标记的尺寸切割竹子。
- 另请参见:如何制作纪念品香皂。
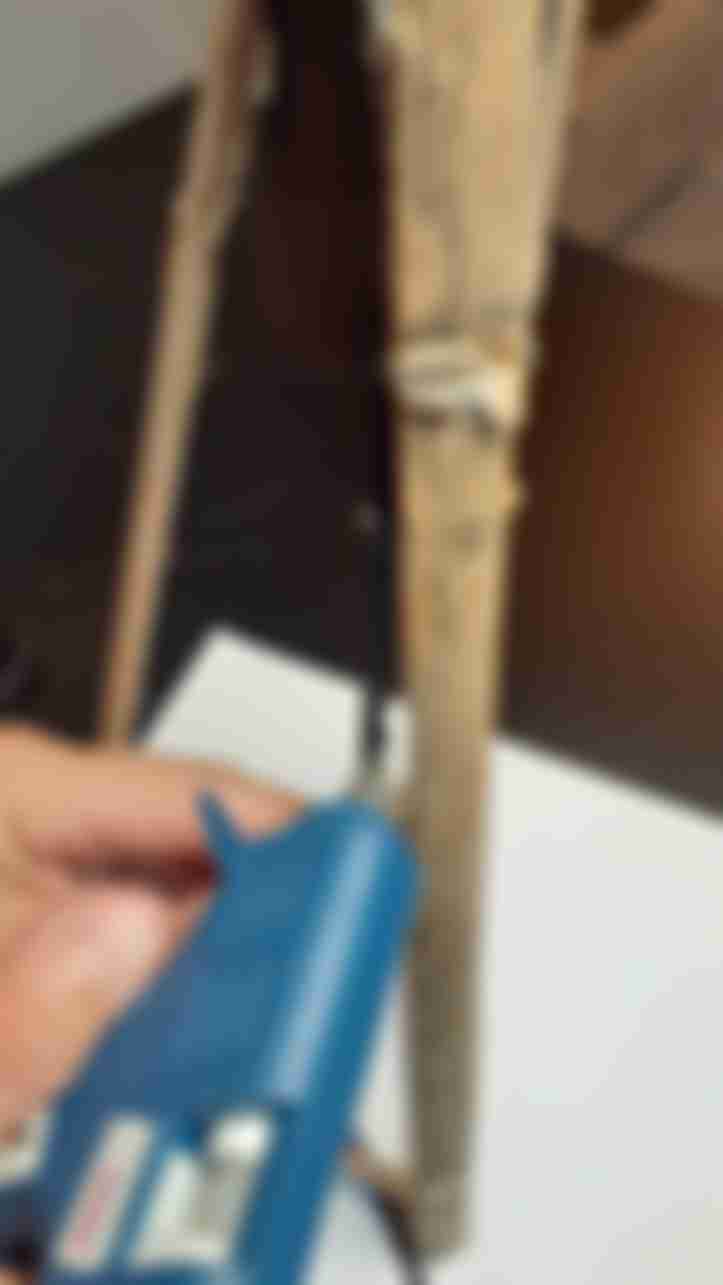
第7步:钻孔
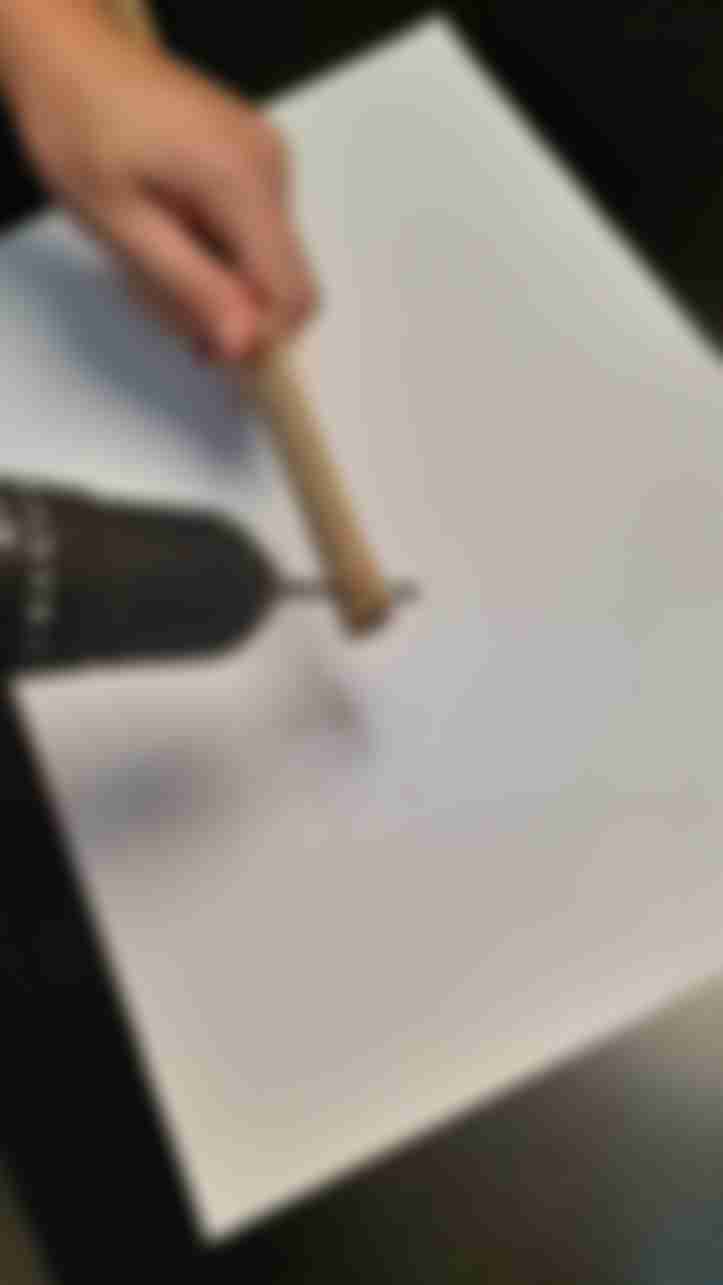
三根较长的竹条将成为小夜灯的主体,需要在顶部连接起来。 要做到这一点,需要在每根竹条上钻一个5毫米的孔,注意确保所有孔的大小、位置等都相同。
第八步:将竹片绑在一起

将绳子分别穿过三个孔,在顶部将三条绳子连接起来。
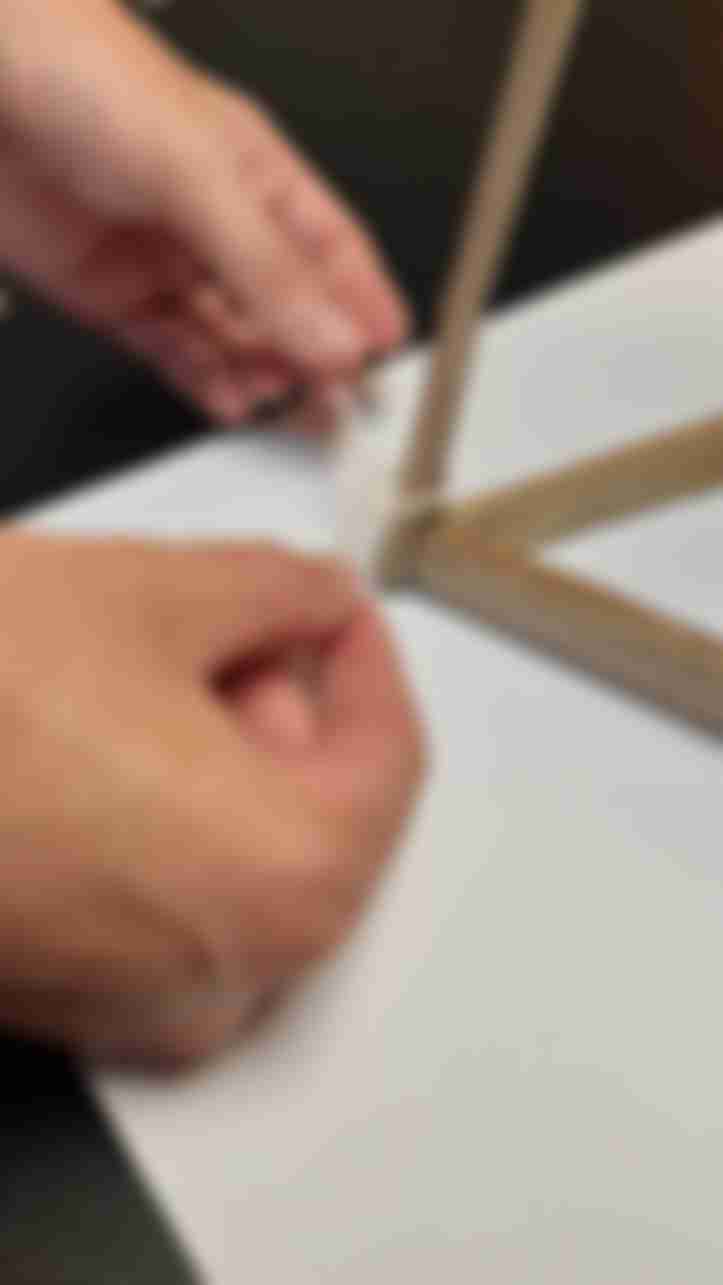
第九步:打结
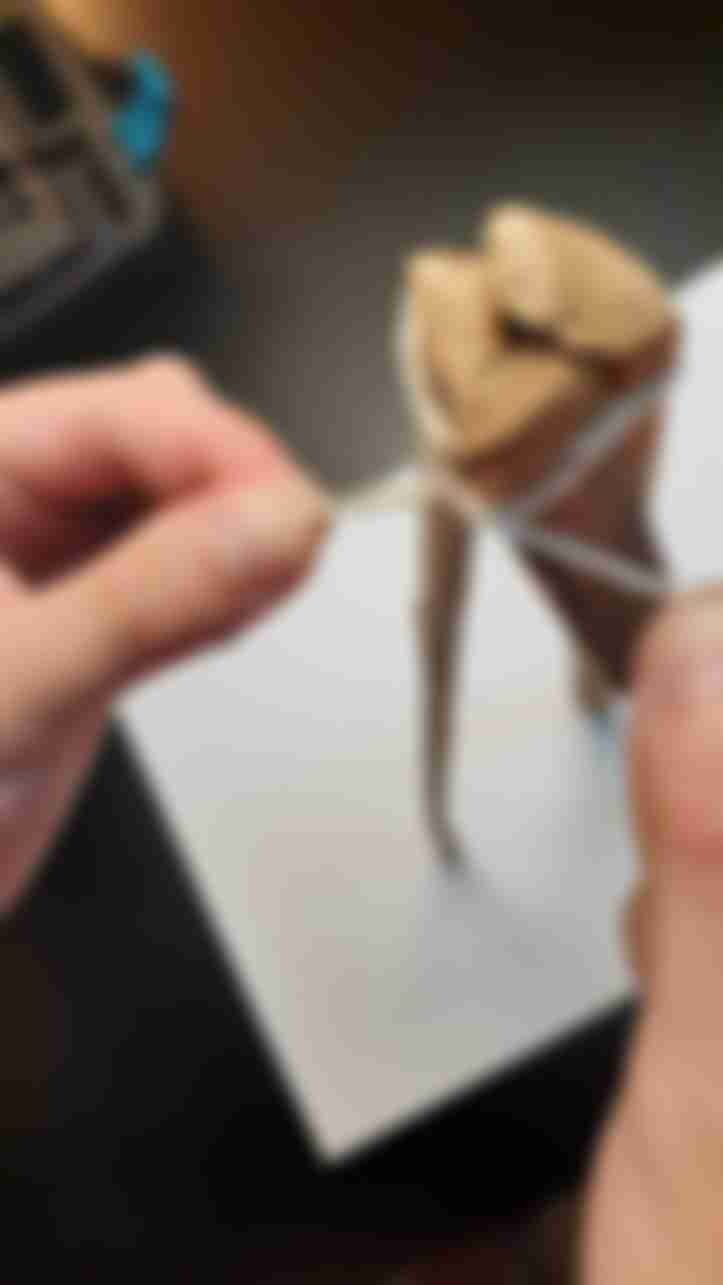
将绳子穿过三根竹条后,将其打结。
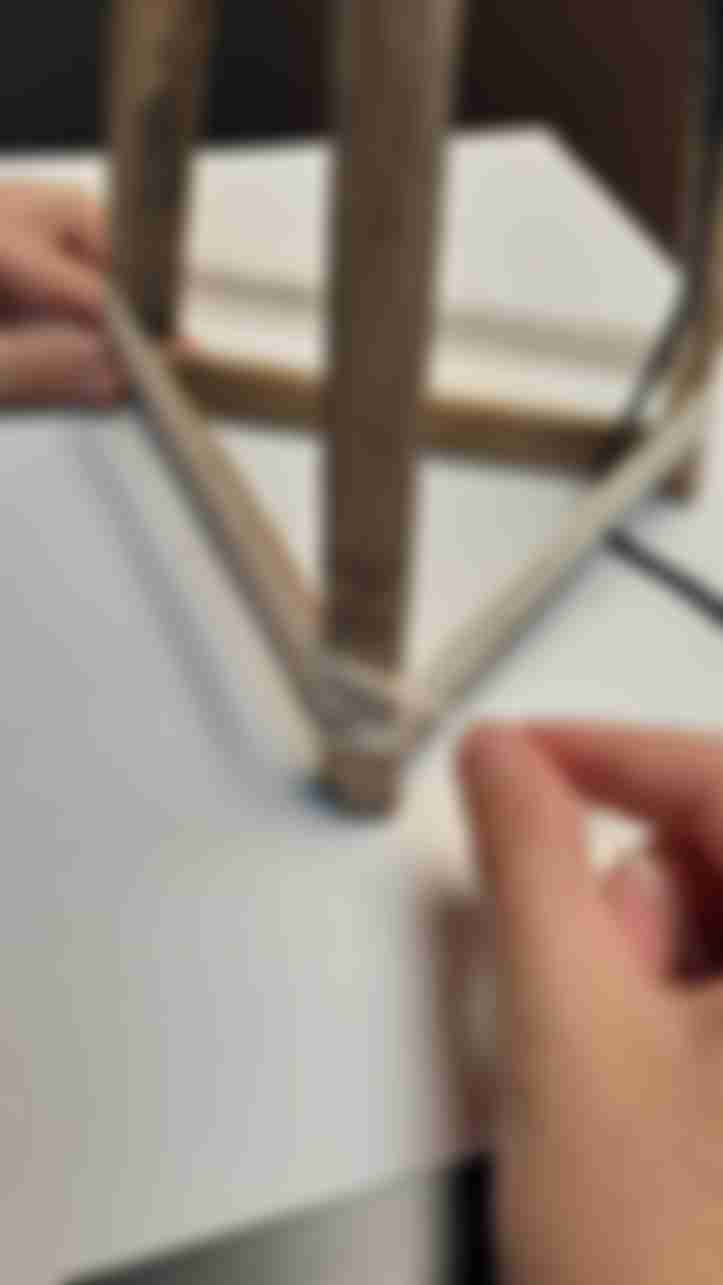
第10步:热粘底座
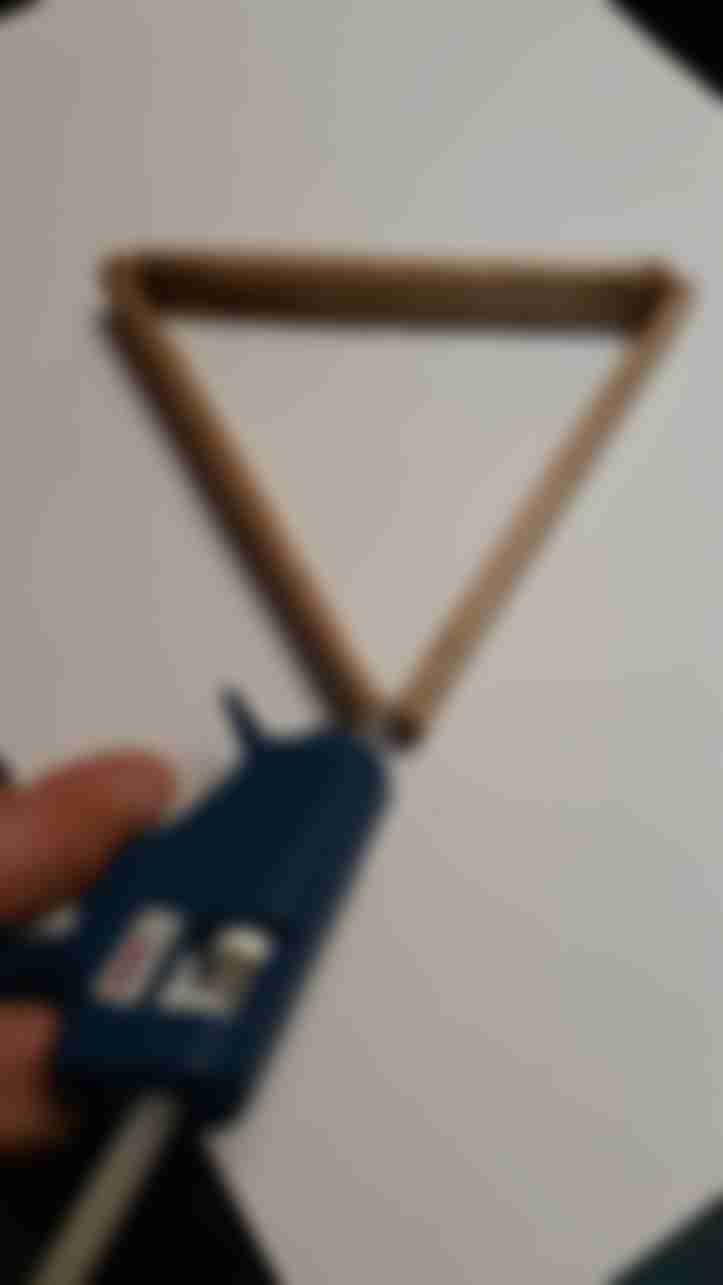
还记得较短的竹片吗? 它们应该有10厘米长。 用热熔胶将它们连接起来,形成一个三角形。
第11步:粘接灯具底座
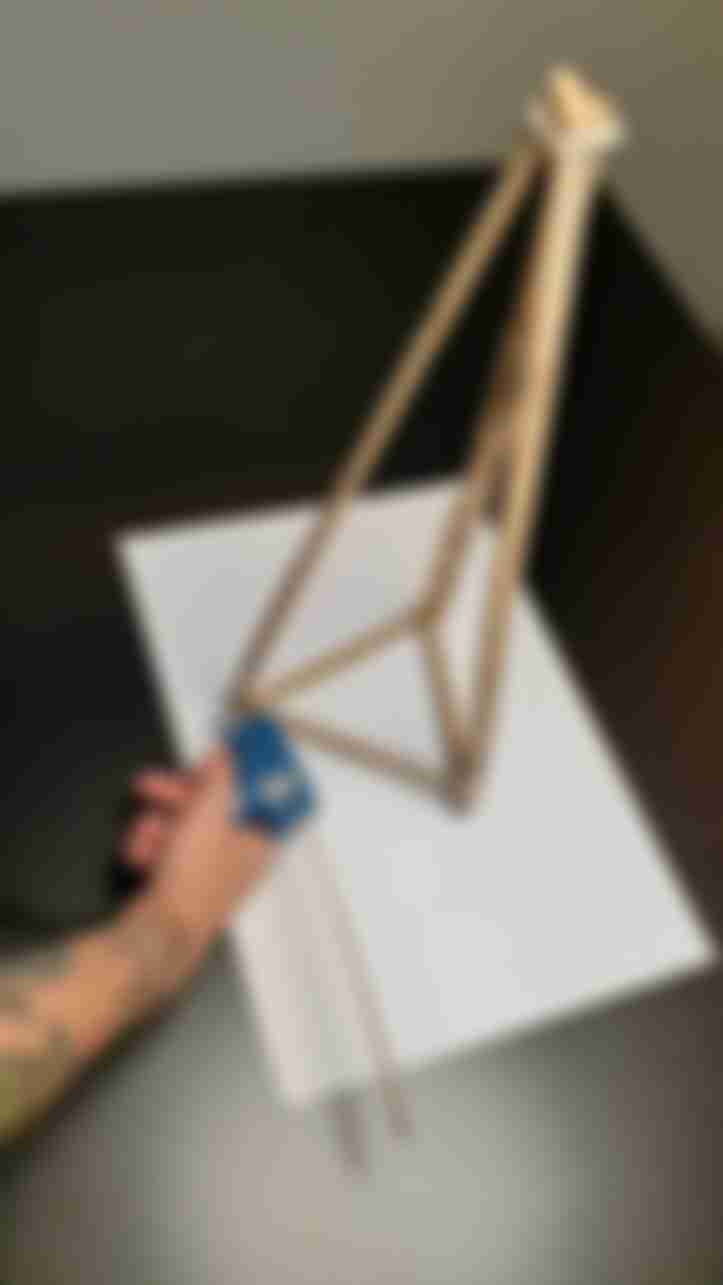
将粘好的小三角形放在绑好的大三角形的底部。
将大条带未打结的一端粘在三角形的四角,将各部分连接成一个整体。
第12步:添加灯座

取下灯座,用胶水将灯座固定在框架内侧--就在系绳子的地方下方。
第13步:粘合电缆
为了使作品更加美观,将灯丝粘在灯框上,使其隐藏起来。
第14步:拧紧灯泡

现在插座和电缆已完全就位并连接好,您可以拧上灯泡。 这也是测试插座是否粘得足够牢固的过程,因为灯泡的重量可能会使插座松动。
步骤15:将绳子系在底座上
用更多的绳子在框架的底部系上一圈,这样可以进一步固定灯具。
See_also: 芋头 "黑魔法":如何种植芋头的技巧步骤16:安装灯具底座
继续将绳子缠绕在框架上,慢慢向顶部移动。
您可以随意完成,但切记不要将绳子缠得太紧,否则会影响灯具的光亮度。
如果您愿意,在用灯绳环绕灯具时点亮灯泡。 这将帮助您了解灯具是否符合您的要求。
第17步:粘合绳子上部

将绳子缠绕到框架顶部后,剪断绳子的末端。
然后将线的末端粘在灯具上。
第18步:点亮灯具
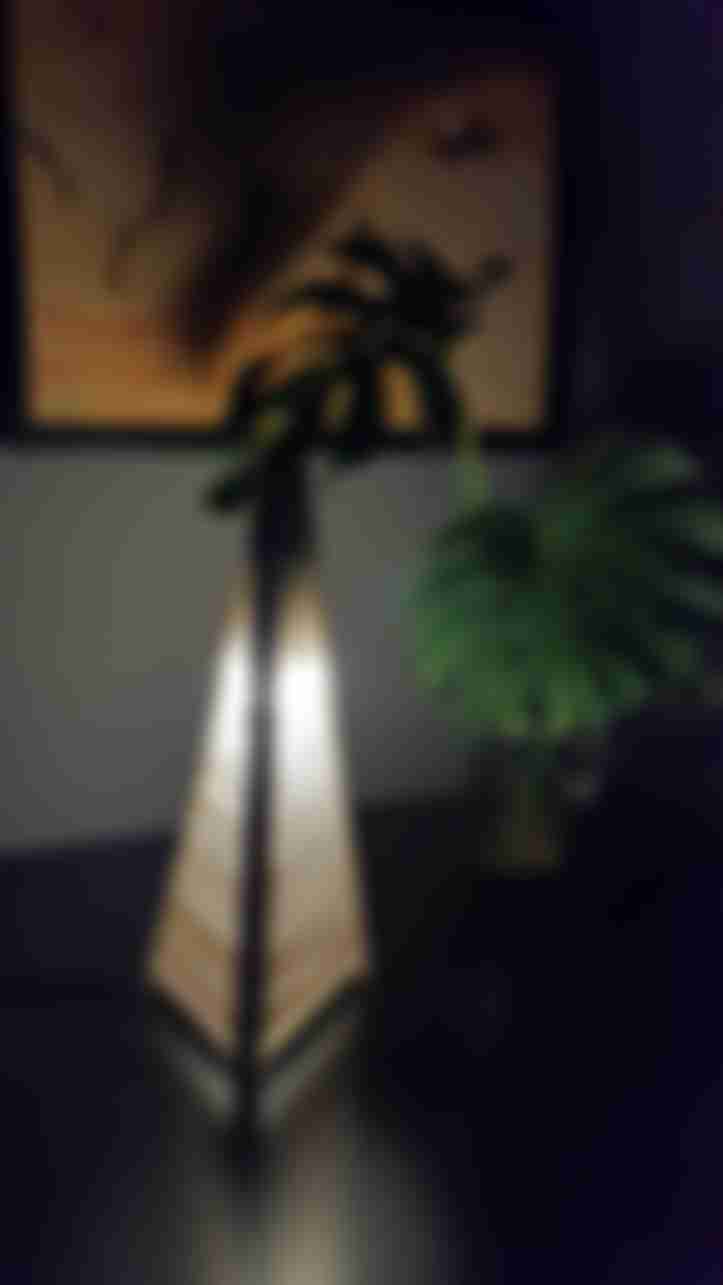
现在只需将灯具插入插座,就能看到它为您的DIY项目绽放出自豪的笑容。
第19步:灯具准备就绪!

我希望您喜欢这样的效果,您可以使用彩色的绳子来产生更加有趣的效果,如果您想让它更加明亮,也可以使用更细的绳子。
想继续获得灵感吗? 另请参阅如何用非常简单的方法制作水泥花瓶!
您喜欢这样的结果吗?